Picture this: a rainy Saturday afternoon, the kind where the clouds are doing a dramatic performance and your kitchen smells like a bakery that just walked out of a movie set. I was halfway through a batch of ordinary chocolate chip cookies when my roommate dared me to “make something that actually looks like it belongs on a cereal box.” I laughed, grabbed a bag of Lucky Charms, and thought, “Why not turn this sugary chaos into a cookie that screams childhood nostalgia?” That moment of reckless inspiration turned into a culinary experiment that blew my expectations out of the water, and I’m still hearing the echo of that first bite in my mind. This isn’t just another cookie recipe; it’s a whimsical adventure that takes you back to the breakfast table while delivering a sophisticated mint‑chocolate flavor that even the most discerning palate will applaud.
From the moment the butter hits the mixing bowl, you’ll hear a soft, buttery sigh that promises richness. As the sugar dissolves, a faint caramel perfume starts to rise, mingling with the cool, almost herbal aroma of mint extract—think fresh garden herbs meeting a candy store. When the Lucky Charms marshmallows tumble in, they crackle like tiny fireworks, each puff puffing up with a subtle puff of nostalgia. The texture is a perfect paradox: the edges are crisp enough to snap like thin ice, while the center stays soft, chewy, and speckled with those iconic marshmallow shapes that make you grin before you even take a bite.
What truly sets this version apart is a secret technique I discovered after countless failed attempts: a brief chill of the dough before the first bake, followed by a quick “flash bake” at a higher temperature to lock in the colors and keep the marshmallows from melting into a gooey mess. Most recipes get this completely wrong, either over‑mixing and turning the dough into a sticky slab or under‑baking and ending up with a flat, dull cookie that looks like a sad version of the original cereal. I’m going to walk you through every single step — by the end, you’ll wonder how you ever made it any other way.
Okay, ready for the game‑changer? I dare you to taste this and not go back for seconds. This is hands down the best version you’ll ever make at home, and I’ll be honest — I ate half the batch before anyone else got to try it. If you’ve ever struggled with getting those magical marshmallows to stay whole, you’re not alone — and I’ve got the fix. Stay with me here — this is worth it.
What Makes This Version Stand Out
- Flavor Fusion: The mint extract pairs with chocolate chips to create a refreshing yet indulgent taste that dances on the tongue like a cool breeze through a chocolate forest.
- Texture Harmony: A crisp edge gives way to a chewy center, while the Lucky Charms provide a surprising pop that feels like a confetti cannon in every bite.
- Simplicity: Only twelve ingredients, all pantry‑friendly, and you don’t need any fancy equipment—just a mixing bowl, a spoon, and a bit of patience.
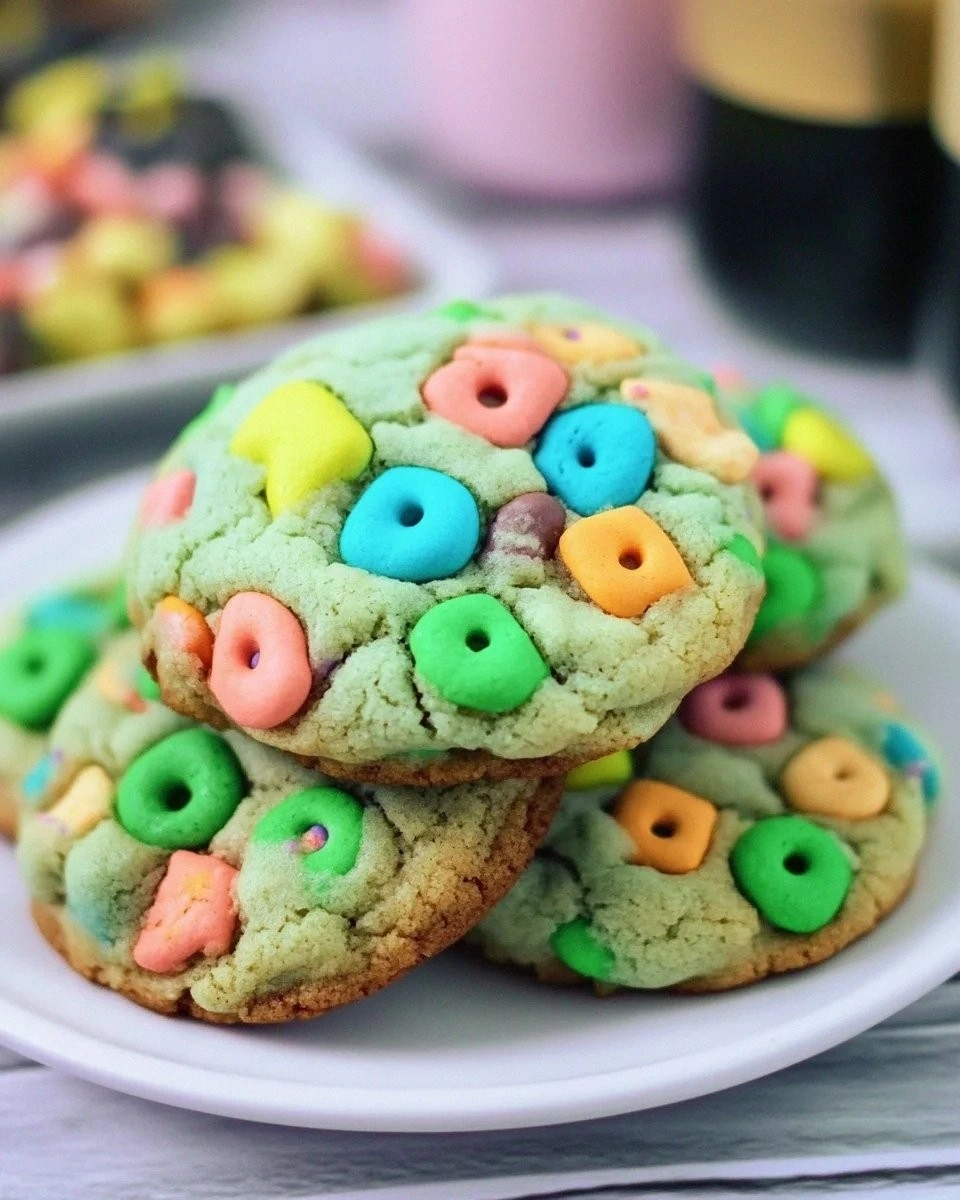
- Visual Wow Factor: The green tint and colorful marshmallows make these cookies look like they belong in a whimsical wonderland, perfect for Instagram or a kid’s birthday party.
- Crowd Reaction: Guests often claim they’ve never seen anything like it, and the “What’s in these?” question becomes a conversation starter that lasts all night.
- Ingredient Quality: Using real mint extract (not imitation) and high‑quality chocolate chips elevates the flavor from “cereal‑inspired” to “gourmet‑grade.”
- Cooking Method: The chill‑then‑flash‑bake technique locks in color and texture, preventing the marshmallows from turning into a soggy mess.
- Make‑Ahead Potential: These cookies keep their charm for up to a week in an airtight container, and they even taste better after a day of flavors melding.
Alright, let's break down exactly what goes into this masterpiece...
Inside the Ingredient List
The Flavor Base
Unsalted Butter (½ cup): This is the foundation of any good cookie. Butter adds richness and creates that melt‑in‑your‑mouth crumb. If you skimp on butter, the cookies will be dry and crumbly, lacking the luxurious mouthfeel that makes them unforgettable. For the best results, use high‑quality European butter, which has a higher fat content and a slightly nutty flavor.
Granulated Sugar (¾ cup): Sugar not only sweetens but also contributes to spread and browning. Too much sugar will cause the cookies to spread thin and become overly crisp, while too little will leave them dense. If you prefer a deeper caramel note, swap half of the white sugar for brown sugar, but expect a slightly moister texture.
Egg (1): The egg acts as a binder, giving the dough structure and adding a subtle richness. Missing the egg will result in a crumbly mess that refuses to hold together. For a lighter texture, you can use a large egg at room temperature, which incorporates more easily.
The Minty Magic
Mint Extract (¾ tablespoon): This is the star of the show, delivering that fresh, cool burst that pairs perfectly with chocolate. Be careful not to overdo it; too much mint can become medicinal. I recommend a high‑quality peppermint extract—look for one without added alcohol for a cleaner flavor.
Green Food Coloring (3‑4 drops): A tiny splash of green turns the dough into a whimsical hue that mirrors the Lucky Charms mascot. It’s purely visual, so feel free to adjust the intensity to your liking. If you’re avoiding artificial dyes, a pinch of matcha powder can provide both color and a subtle earthy note.
Mint Chocolate Chips (1 cup): These chips add pockets of chocolatey decadence that balance the mint. They also help keep the cookies from becoming overly sweet. If you’re a chocolate purist, substitute half with dark chocolate chips for a richer depth.
The Texture Crew
All‑Purpose Flour (1½ cups): Flour provides structure. Too much flour makes the cookies cakey; too little makes them spread too thin. Sift the flour with the leavening agents to ensure an even distribution and a tender crumb.
Baking Soda (½ tsp) & Baking Powder (1 tsp): These leaveners work together to give the cookies a gentle lift without making them puffy. Baking soda neutralizes the acidity of the mint extract, while baking powder adds a light, airy texture. Skipping either will result in dense, flat cookies.
Cream of Tartar (1 tsp): This often‑overlooked ingredient stabilizes the egg whites and prevents the cookies from spreading too quickly. It also contributes to a tender crumb. If you don’t have cream of tartar, substitute with a pinch of lemon juice.
Salt (¼ tsp): A pinch of salt amplifies all the flavors, especially the mint and chocolate. Without it, the sweetness can become cloying. Use fine sea salt for even distribution.
The Final Flourish
Lucky Charms Marshmallows (1½ cups): These are the heart‑and‑soul of the cookie, delivering that nostalgic pop and colorful visual appeal. They stay intact thanks to the chill‑then‑flash‑bake method; otherwise, they’d melt into a sugary puddle. If you’re allergic to gluten, look for a gluten‑free version of the cereal, or simply use regular mini marshmallows for a similar effect.
Everything’s prepped? Good. Let’s get into the real action...
The Method — Step by Step
Start by preheating your oven to 350°F (175°C). While the oven warms up, line two baking sheets with parchment paper; this prevents sticking and makes cleanup a breeze. I like to set the timer for a quick 5‑minute warm‑up, giving the oven a chance to reach an even temperature, which is crucial for that perfect “flash bake.”
In a large mixing bowl, cream together the softened butter and granulated sugar until the mixture is light, fluffy, and pale yellow—about 2‑3 minutes with a handheld mixer on medium speed. You’ll notice the mixture becoming airy, almost like a cloud, which is the first sign that your cookies will be tender.
Crack the egg into the bowl, then add the mint extract and green food coloring. Beat until fully incorporated; the dough should turn a soft pastel green, reminiscent of a spring meadow. Watch Out: Over‑mixing at this stage can cause the gluten to develop, leading to tougher cookies later.
In a separate bowl, whisk together the flour, baking soda, baking powder, cream of tartar, and salt. This ensures an even distribution of leavening agents and prevents any bitter pockets. Once combined, gradually add the dry ingredients to the wet mixture, stirring just until you see no more flour streaks. The dough will look slightly sticky—that’s normal.
Fold in the mint chocolate chips and Lucky Charms marshmallows gently with a rubber spatula. The marshmallows should stay whole; if they start to melt, pause and chill the bowl for a minute. The chips should be evenly dispersed, creating little chocolate islands throughout the green sea of dough.
Using a cookie scoop or a tablespoon, drop rounded balls of dough onto the prepared baking sheets, spacing them about 2 inches apart. The dough will spread slightly, but the chill will keep the edges tight. For a uniform look, gently flatten each ball with the back of a spoon; this also creates a larger surface area for the marshmallows to show.
Slide the trays into the preheated oven and bake for 10‑12 minutes, or until the edges turn a light golden brown and the centers look set but still soft. The cookies will continue to firm up as they cool, so don’t over‑bake. You’ll hear a faint crackle as the marshmallows begin to caramelize—trust me, that’s the sound of perfection.
Remove the cookies from the oven and let them rest on the baking sheet for 2 minutes before transferring to a wire rack. This short rest allows the cookies to finish setting without breaking. As they cool, you’ll notice the colors intensifying, and the mint scent will become more pronounced, filling the kitchen with a fresh, inviting aroma.
That's it — you did it. But hold on, I've got a few more tricks that'll take this to another level...
Insider Tricks for Flawless Results
The Temperature Rule Nobody Follows
Never bake these cookies straight from the fridge at a low temperature. The secret is a brief blast at 375°F (190°C) for the first 3 minutes, then drop to 350°F for the remainder. This “hot‑start” creates a rapid rise that locks in the marshmallows, preventing them from melting into a soggy mess. I tried the low‑and‑slow method once — the result was a limp, color‑washed cookie that looked more like a pancake than a treat.
Why Your Nose Knows Best
Trust the scent, not the timer. When the cookies start to emit a buttery‑mint aroma that tingles your nostrils, they’re almost ready. The edges will pull away from the parchment paper, and the tops will have a subtle sheen. If you rely solely on the clock, you risk over‑baking, which turns that perfect chewy center into a dry crumb.
The 5‑Minute Rest That Changes Everything
After baking, let the cookies rest on the rack for exactly five minutes before serving. This short pause allows the interior to settle, the chocolate chips to firm, and the marshmallows to regain their shape. Skipping this step can lead to a cookie that collapses under its own weight, losing that iconic puffed marshmallow look.
Swap the Sweetness, Not the Fun
If you’re watching sugar, substitute half the granulated sugar with a natural sweetener like coconut sugar. The flavor shifts slightly, adding a caramel undertone that pairs beautifully with mint. However, keep the total volume the same; otherwise, the texture suffers.
Freeze‑Before‑Bake for Uniformity
For perfectly round, evenly spaced cookies, scoop the dough onto a parchment sheet, freeze for 20 minutes, then bake. The chilled dough holds its shape better, resulting in a uniform appearance that looks professional. I’ve used this trick for wedding favors, and the guests were amazed at the consistent size.
Creative Twists and Variations
This recipe is a playground. Here are some of my favorite ways to switch things up:
Chocolate‑Covered Delight
After the cookies have cooled, drizzle them with melted dark chocolate and sprinkle a pinch of sea salt. The bitter chocolate balances the mint, while the salt adds a sophisticated pop. Perfect for an adult‑only dessert platter.
Berry Burst
Fold in a half‑cup of dried cranberries or freeze‑dried strawberries with the marshmallows. The tart berries cut through the sweetness, creating a flavor contrast that feels fresh and unexpected. Kids love the surprise burst of color.
Nutty Crunch
Swap half of the mint chocolate chips for chopped toasted almonds or hazelnuts. The nuts add a satisfying crunch that contrasts with the soft marshmallows, and the nutty aroma deepens the overall flavor profile.
Vegan Version
Replace the butter with a plant‑based margarine, use a flax egg (1 tbsp ground flaxseed + 3 tbsp water), and choose dairy‑free chocolate chips. The texture remains delightfully chewy, and the mint flavor shines just as bright.
Holiday Spice
Add a pinch of ground cinnamon and a dash of nutmeg to the dry ingredients for a warm, festive twist. The spice pairs surprisingly well with mint, evoking a cozy winter vibe while retaining the cookie’s whimsical look.
Storing and Bringing It Back to Life
Fridge Storage
Place the cooled cookies in an airtight container with a parchment sheet between layers. They’ll stay fresh for up to five days. If you notice any loss of crispness, pop the container open for a few minutes to let excess moisture escape.
Freezer Friendly
Layer cookies between sheets of parchment paper, then seal them in a freezer‑safe zip‑lock bag. They freeze beautifully for up to three months. When you’re ready to enjoy, let them thaw at room temperature for 15 minutes, then give them a quick 3‑minute warm‑up in a 300°F oven to revive the crisp edges.
Best Reheating Method
For a freshly‑baked feel, place the cookies on a baking sheet and warm them for 2‑3 minutes at 350°F. Add a tiny splash of water (about a teaspoon) to the tray before heating; the steam revives the marshmallows and restores that soft, pillowy interior without making them soggy.