I’ll be honest — I was halfway through a frantic holiday shopping spree when a sudden craving hit me like a sleigh‑bell on a cold night. My kitchen was a disaster zone: flour dust on the counter, a half‑melted batch of chocolate on the stove, and a rogue batch of white chocolate that had decided to cling to the bottom of the pan like a stubborn snowflake. I stared at the chaos and thought, “If I can survive this, I can definitely create something that will make Santa’s belly jiggle with joy.” That moment of culinary desperation birthed what I now call the ultimate holiday brownie, a decadent, double‑layered masterpiece that looks like a jolly Santa belly and tastes like a winter wonderland in every bite.
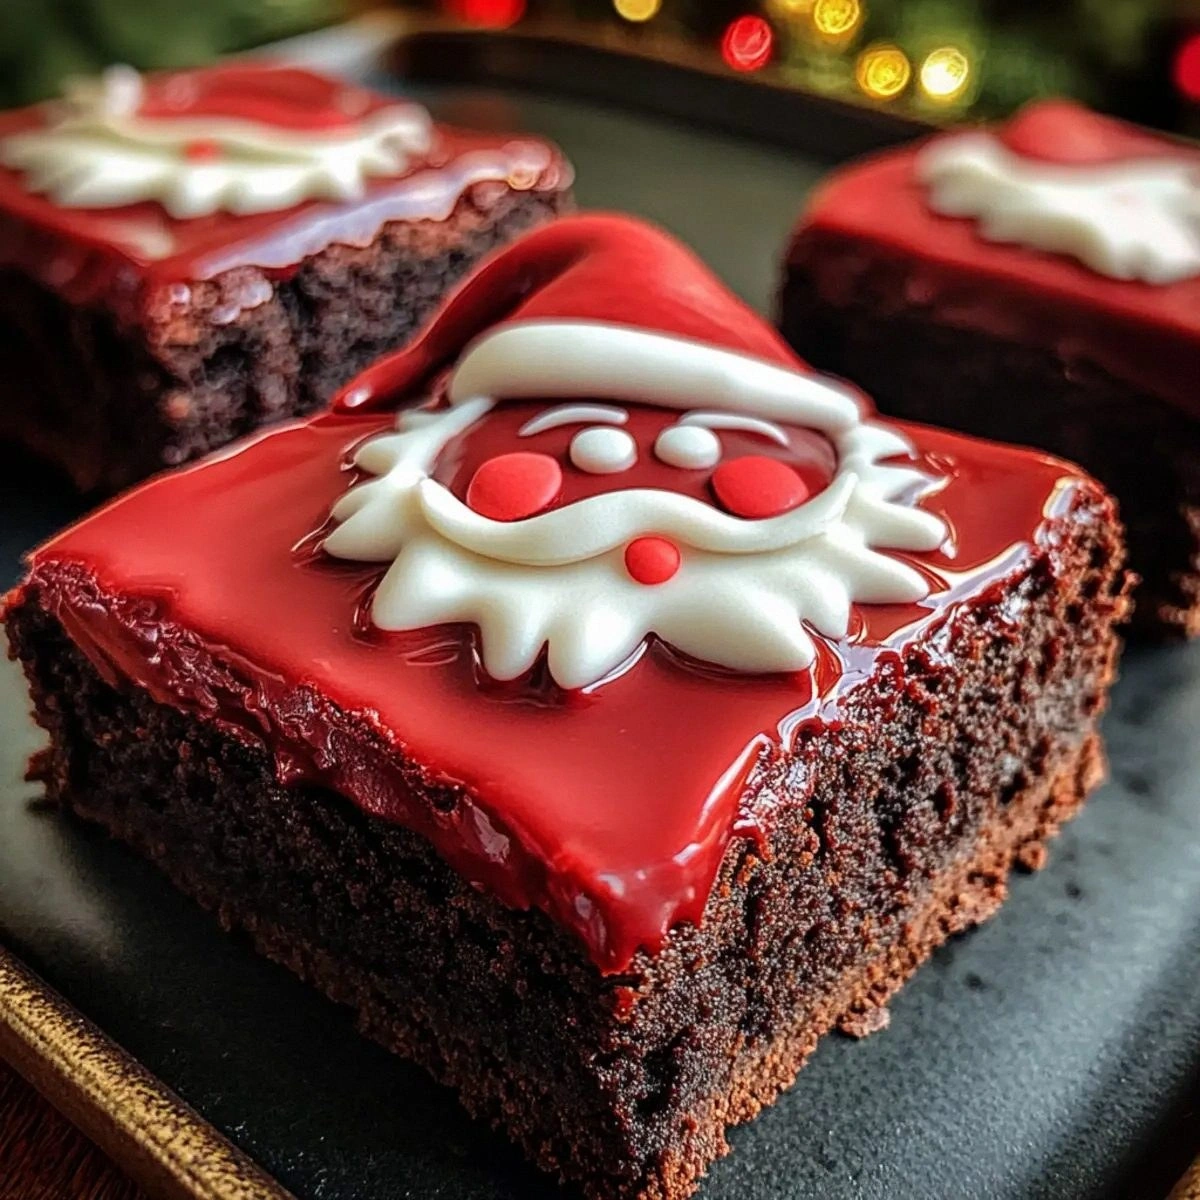
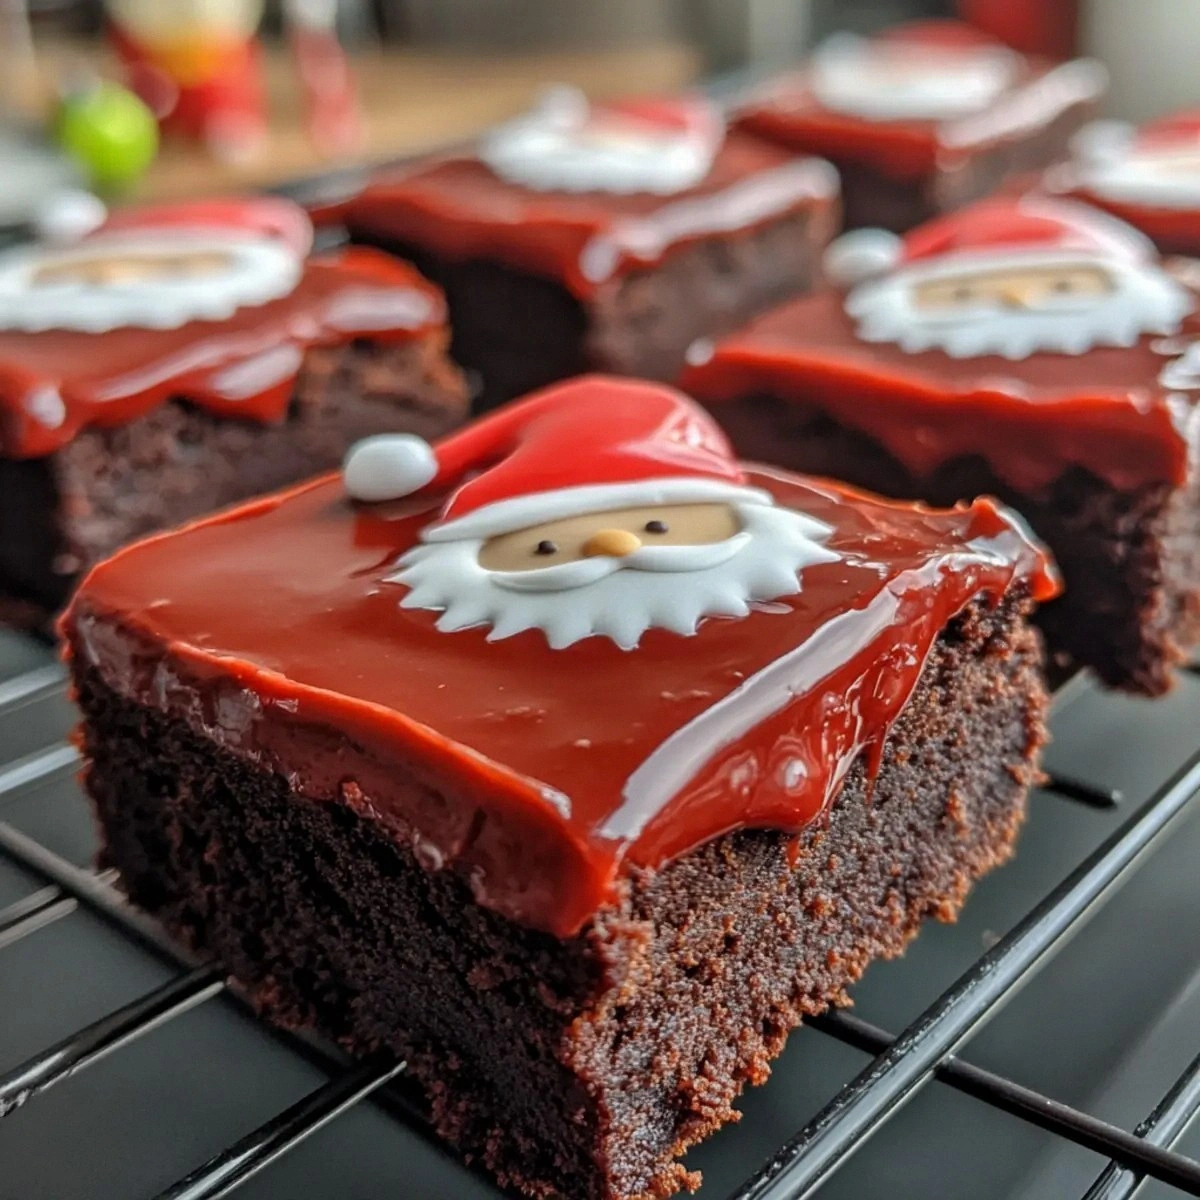
Picture this: the kitchen filled with the deep, intoxicating aroma of dark chocolate melting into butter, a sweet whisper of vanilla dancing with brown sugar, and the faint, almost magical scent of red gel food coloring as it swirls into the batter. The oven hums like a contented reindeer, and the timer ticks down, each second building anticipation. When you finally pull the pan out, the top glistens with a glossy, ruby‑red glaze that catches the light just right, and the edges are crisped to a perfect, caramel‑kissed snap that shatters like thin ice under a skater’s blade. The interior? A fudgy, melt‑in‑your‑mouth center that’s as soft as fresh snow, punctuated by pockets of white‑chocolate fondant that melt like tiny snowballs when you bite into them.
What makes this version stand out is that it doesn’t rely on gimmicky sprinkles or store‑bought frosting that wilt under the heat of a holiday party. Instead, it embraces the richness of premium dark chocolate, the silkiness of heavy cream, and the playful surprise of black and yellow fondant that you’ll shape into Santa’s belt and buttons. Most recipes get the texture completely wrong—either too cakey or too dry. Here, the secret is a precise balance of Dutch‑processed cocoa and a touch of white chocolate that gives the batter a luxurious depth while keeping it moist and tender. The result is a brownie that’s both a visual showstopper and a taste‑bud celebration, and I dare you to taste this and not go back for seconds.
Okay, ready for the game‑changer? I’m about to walk you through every single step, from selecting the perfect chocolate to mastering the art of piping the red “belly” glaze without a mess. By the end, you’ll wonder how you ever made brownies any other way, and you’ll have a holiday centerpiece that will have guests shouting, “More, please!” Let me walk you through every single step — by the end, you’ll wonder how you ever made it any other way.
What Makes This Version Stand Out
- Taste: The combination of 70% dark chocolate and a splash of white chocolate creates a layered flavor profile that’s both bitter and sweet, like a perfect holiday cocktail.
- Texture: A fudgy interior with a crisp, caramelized edge that shatters like thin ice, giving you that satisfying bite contrast.
- Simplicity: Only twelve ingredients, all of which are pantry‑friendly, so you won’t need a trip to the specialty store (except maybe for the fondant).
- Uniqueness: The red gel‑colored glaze and fondant decorations turn an ordinary brownie into a festive Santa belly that’s Instagram‑ready.
- Crowd Reaction: Guests often claim it’s the best holiday dessert they’ve ever tried, and the “Santa belly” becomes a conversation starter.
- Ingredient Quality: Using Dutch‑processed cocoa and high‑fat dark chocolate ensures a glossy finish and deep flavor without bitterness.
- Cooking Method: A low‑and‑slow bake preserves moisture, while a brief broil at the end gives the top a caramelized sheen.
- Make‑Ahead Potential: The brownies keep beautifully for up to a week, and the fondant decorations can be pre‑shaped and stored.
Alright, let's break down exactly what goes into this masterpiece...
Inside the Ingredient List
The Flavor Base
The dark chocolate (8 oz) is the heart of this brownie, providing the deep, almost smoky undertones that make the dessert feel luxurious. Choose a chocolate with at least 70% cacao for the best balance of bitterness and sweetness; anything lower will taste flat and won’t give you that glossy finish. If you skip the dark chocolate, you’ll lose the essential depth that makes the Santa belly stand out among ordinary brownies.
Unsalted butter (½ cup) adds richness and helps create that melt‑in‑your‑mouth texture. I always recommend using European‑style butter because its higher butterfat content gives a smoother mouthfeel. If you’re out of butter, a mix of ¼ cup butter and ¼ cup coconut oil works, but expect a faint coconut note.
Granulated sugar (1 cup) and brown sugar (½ cup) work together to create a balanced sweetness and a subtle caramel flavor. The brown sugar’s molasses adds moisture, which is crucial for that fudgy interior. Skipping the brown sugar will make the brownies dry and less complex.
The Texture Crew
Dutch‑processed cocoa powder (¾ cup) intensifies the chocolate flavor without adding extra fat, and it helps create that deep, dark color that makes the red glaze pop. If you only have natural cocoa, add a pinch of baking soda to neutralize the acidity, but expect a slightly brighter color.
White chocolate (6 oz) is melted into the batter to create pockets of sweet, creamy surprise. It also contributes to the glossy finish of the top layer. For a dairy‑free version, substitute with a high‑quality white chocolate made from coconut oil.
Heavy cream (½ cup) is folded into the white chocolate mixture, turning it into a silky ganache that you’ll pipe around the brownie’s edge. It also adds a luxurious mouthfeel that makes each bite feel like a mini‑holiday celebration. If you’re watching calories, you can replace half with half‑and‑half, but the texture will be a tad less rich.
The Unexpected Star
Gel food coloring (1 tbsp red) is the secret weapon that transforms the ganache into a vivid Santa‑belly hue. Use a gel rather than liquid to avoid thinning the ganache; a little goes a long way, and you’ll get a vibrant, matte‑finish red that looks like fresh cranberries.
Two types of fondant—black (6 oz) and yellow (6 oz)—are rolled out and cut into circles and strips to form Santa’s belt and buttons. Fondant holds its shape well and adds a playful chewiness that contrasts with the fudgy brownie. If you can’t find fondant, you can use modeling chocolate, but the texture will be softer.
The Final Flourish
Eggs (2 large) act as the binding agent, giving the batter structure while keeping it moist. Use room‑temperature eggs for a smoother batter; cold eggs can cause the chocolate to seize.
Vanilla extract (1 tsp) rounds out the flavor profile, adding a warm, aromatic note that ties the chocolate and caramel flavors together. A splash of pure vanilla bean paste would be even more luxurious, but the extract works perfectly.
Everything’s prepped? Good. Let’s get into the real action...
The Method — Step by Step
Preheat your oven to 350°F (175°C) and line a 9×13‑inch baking pan with parchment paper, letting the paper hang over the sides for easy lift‑out. While the oven warms, gather all your ingredients and set them out in the order you’ll use them—this “mise en place” trick saves you from frantic rummaging later. The kitchen will start to smell faintly of butter as it softens, a comforting prelude to the chocolate symphony about to begin.
Melt the dark chocolate and butter together in a double boiler, stirring constantly until the mixture is glossy and smooth. Once fully combined, remove from heat and let it cool just enough that a fingertip test (the mixture should feel warm, not hot) passes. This is the moment of truth—if the chocolate is too hot, it will seize when the eggs are added.
Kitchen Hack: Add a teaspoon of vegetable oil to the melt for an extra glossy finish that makes the red glaze shine like a polished ornament.In a separate bowl, whisk together the granulated sugar, brown sugar, and eggs until the mixture becomes pale and fluffy, about 2–3 minutes. The whisking incorporates air, which will give the brownies a light lift despite their dense texture. Add the vanilla extract and continue whisking for another 30 seconds, letting the aroma fill the kitchen.
Sift the Dutch‑processed cocoa powder into the chocolate‑butter mixture, folding gently with a rubber spatula until fully incorporated. The batter should turn a deep, almost black hue—this is the canvas on which the red “belly” will later shine. If you notice any lumps, whisk lightly; a smooth batter ensures even baking.
Combine the wet egg‑sugar mixture with the chocolate base, folding just until no streaks remain. Over‑mixing will develop gluten and make the brownies cakey, so stop as soon as the batter looks uniform. And now the fun part. Melt the white chocolate with the heavy cream over low heat, stirring until you achieve a glossy ganache.
Kitchen Hack: Warm the heavy cream just until it simmers—don’t boil—so the white chocolate melts smoothly without scorching.Stir the red gel food coloring into the white‑chocolate ganache until you achieve a vibrant, holiday‑red hue. The color should be bold enough to stand out against the dark brownie base, yet not so saturated that it looks artificial. Let the ganache sit for a minute; it will thicken slightly, making it perfect for piping.
Pour the chocolate‑brownie batter into the prepared pan, spreading it evenly with a spatula. Then, using a piping bag fitted with a large round tip, pipe the red ganache in a thick, circular “belly” shape right in the center of the batter. Watch Out: If the ganache is too runny, it will bleed into the brownie, losing that crisp boundary. If it’s too thick, it won’t spread evenly. Adjust by adding a splash of cream or a pinch of cocoa, respectively.
Watch Out: Do not open the oven door during the first 15 minutes; temperature fluctuations cause the brownies to sink and the red glaze to lose its shape.Place the pan in the oven and bake for 25‑30 minutes, or until a toothpick inserted near the edge comes out with a few moist crumbs but no wet batter. The top should look set, and the edges will start pulling away from the pan—a clear visual cue that they’re done. While baking, the kitchen will be filled with a sweet, chocolaty perfume that makes you want to peek inside (but resist!).
While the brownies are cooling, roll out the black and yellow fondant on a lightly powdered surface. Cut the black fondant into small circles for Santa’s buttons and the yellow into a thin strip for his belt. Once the brownies are completely cool (about 20 minutes), carefully lift them out using the parchment overhang and place the fondant decorations on the red belly. Press gently to adhere; the residual warmth will help the fondant stick without cracking.
That’s it — you did it. But hold on, I've got a few more tricks that'll take this to another level...
Insider Tricks for Flawless Results
The Temperature Rule Nobody Follows
Never bake brownies directly from the fridge; let the batter sit at room temperature for 10‑15 minutes before sliding it into the oven. This small pause ensures the butter and chocolate are evenly distributed, preventing a gummy center. I once tried to rush the process and ended up with a dense, under‑cooked middle that felt like a chocolate brick. Trust me, the extra patience pays off in a uniformly fudgy texture.
Why Your Nose Knows Best
Instead of relying solely on a timer, use your sense of smell as a guide. When the edges start to emit a caramel‑toasted scent and the top looks matte, the brownies are likely done. If you open the oven and the aroma is still buttery and raw, give them another 2‑3 minutes. This sensory checkpoint is a lifesaver, especially when ovens vary by a few degrees.
The 5‑Minute Rest That Changes Everything
After removing the pan from the oven, let the brownies rest on a wire rack for exactly five minutes before cutting. This brief pause lets the steam redistribute, preventing a soggy bottom and giving the ganache time to set. Cutting too early results in a messy, runny slice that looks less polished than a Santa’s polished belt.
The Fondant Glue Trick
If your fondant isn’t sticking as firmly as you’d like, lightly brush the underside of each piece with a tiny amount of melted white chocolate. The chocolate acts as an edible glue, securing the fondant without altering the flavor. A friend once tried to use regular icing, and it melted under the heat, ruining the design.
The Double‑Layer Shield
For an extra glossy finish on the red belly, after the first layer of ganache sets, pipe a second thin layer over it and let it set again. This double‑coat technique creates a mirror‑like surface that catches the holiday lights beautifully. The extra step takes just five minutes but elevates the visual impact dramatically.
Creative Twists and Variations
This recipe is a playground. Here are some of my favorite ways to switch things up:
Peppermint Surprise
Add a teaspoon of crushed peppermint candy to the batter for a refreshing minty bite that pairs beautifully with the chocolate. Top the red belly with tiny crushed peppermint shards for a festive crunch.
Mocha Madness
Replace half of the dark chocolate with espresso‑infused chocolate and add a tablespoon of instant coffee to the batter. The subtle coffee bitterness deepens the chocolate flavor and makes the brownies feel more adult‑centric.
White‑Chocolate Snowfall
Swap the red ganache for a white‑chocolate glaze tinted with a hint of blue food coloring, then sprinkle edible silver glitter on top. The result looks like a snowy Santa belly—perfect for a winter‑white theme.
Nutty Noel
Fold in ½ cup of toasted chopped hazelnuts or pecans into the batter before baking. The nuts add a pleasant crunch and a buttery flavor that complements the chocolate’s richness.
Vegan Victory
Replace butter with coconut oil, use flax‑egg replacer (2 tbsp ground flaxseed + 6 tbsp water per egg), and choose a dairy‑free dark chocolate. The texture stays fudgy, and the flavor remains decadent—proof that you don’t need animal products to celebrate the holidays.
Storing and Bringing It Back to Life
Fridge Storage
Place the cooled brownies in an airtight container and store them in the refrigerator for up to five days. The chilled environment keeps the fondant from softening and preserves the glossy ganache. Before serving, let them sit at room temperature for 15‑20 minutes to let the flavors fully awaken.
Freezer Friendly
Wrap the entire pan tightly in plastic wrap, then add a layer of aluminum foil before freezing. They’ll keep for up to three months. When you’re ready to enjoy, thaw overnight in the fridge, then bring to room temperature. A quick 30‑second zap in the microwave (on low) revives the fudgy interior without melting the fondant.
Best Reheating Method
To reheat a single slice, place it on a microwave‑safe plate, add a tiny splash (about a teaspoon) of water, and cover with a damp paper towel. Microwave on 50% power for 20‑30 seconds. The added steam brings the brownie back to its original moistness, and the fondant stays intact.