It was a humid October night, the kind of evening that makes every kitchen feel like a cauldron. I was trying to salvage a batch of leftover red velvet cake that had gone stale, and the idea of turning it into something spooky hit me like a lightning bolt. The thought of a cupcake that looks like a vampire's bite, dripping with crimson glaze and crowned with candy fangs, was too delicious to ignore. I grabbed my apron, and the kitchen lights flickered as if they sensed the impending culinary drama. This recipe is not just a treat; it’s a full sensory experience that will haunt your taste buds.
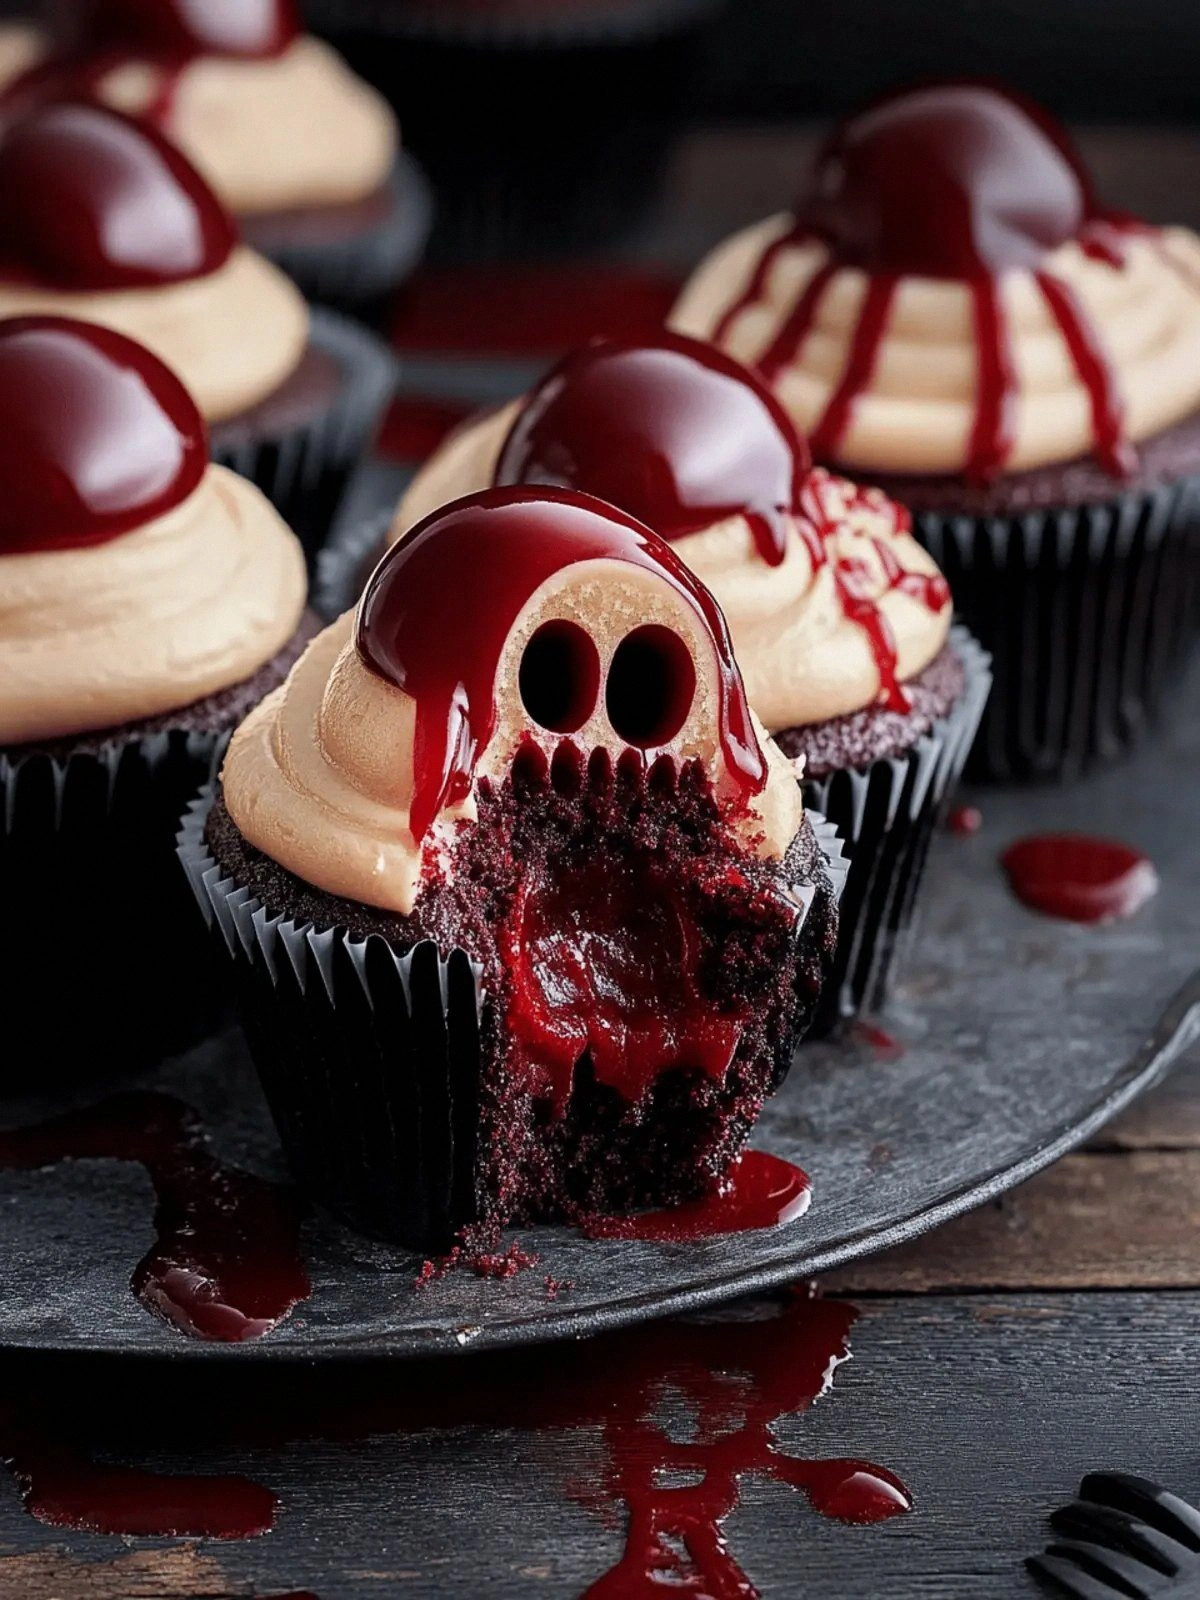
Picture this: a glossy, dark chocolate base that feels silky against your tongue, the aroma of cocoa mingling with the sweet scent of vanilla and a hint of buttermilk that gives it a subtle tang. The moment you bite into the first cupcake, you’ll hear that satisfying crack of the frosting as it melts, revealing a burst of rich chocolate and a splash of bright red syrup. Your eyes will catch the gleam of candy fangs glinting like tiny daggers. The texture is a delicate balance—moist inside, slightly crisp on the edges, like a perfectly baked ghost story. If you dare, take a second bite and you’ll find yourself craving more, because this is hands down the best version you’ll ever make at home.
What makes this version stand out from the usual Halloween cupcakes is the meticulous layering of flavors and textures, the clever use of red velvet crumbs to create an eerie undertone, and the unexpected burst of sweetened condensed milk that keeps the batter silky. Most recipes get this completely wrong by overmixing or using too much sugar, which makes the cupcakes heavy and flat. Here, the batter is light, airy, and airy, thanks to the right balance of baking soda, cocoa, and buttermilk. The final result is a cupcake that looks like it was pulled from a gothic novel, but tastes like a decadent dessert that you’ll want to share with your friends—if you’re brave enough.
Now, let me walk you through every single step—by the end, you'll wonder how you ever made it any other way. The trickiest part is the glaze: it needs to be thick enough to coat the cupcakes like velvet but thin enough to drip like blood. The candy fangs, those little plastic teeth, add a playful crunch that’s surprisingly satisfying. And the red syrup, when it’s poured just right, creates a visual effect that will make your Instagram followers gasp. I dare you to taste this and not go back for seconds. So grab your mixing bowls, preheat the oven, and let’s dive into the magic.
What Makes This Version Stand Out
- Flavor: The combination of cocoa, buttermilk, and a splash of vanilla creates a depth of flavor that feels like a midnight rendezvous. The red velvet crumbs add a subtle tang that pairs perfectly with the sweetened condensed milk.
- Texture: The batter is whipped to the right consistency, ensuring a moist interior while the edges crisp just enough to give a satisfying bite. The glaze is thick but pourable, giving each cupcake a glossy, blood‑red finish.
- Simplicity: Despite the elaborate presentation, the recipe only requires one mixing bowl and a few simple tools. The steps are straightforward, making it a great choice for beginners or seasoned bakers alike.
- Uniqueness: Using candy fangs as a decorative element is a fresh twist that elevates the classic Halloween cupcake. The red syrup glaze adds an extra layer of drama that most recipes miss.
- Crowd Reaction: This cupcake is guaranteed to become the center of attention at any Halloween gathering. Guests will be amazed at how the cupcakes look and how delicious they taste.
- Ingredient Quality: Choosing high‑quality cocoa powder and fresh buttermilk makes a noticeable difference in flavor. The red syrup should be pure and not overly sweetened to keep the glaze balanced.
- Make‑Ahead Potential: The cupcakes can be baked ahead of time and frozen, then thawed and frosted just before serving, saving you last‑minute prep.
Inside the Ingredient List
The Flavor Base
The foundation of this cupcake lies in the harmonious blend of 1 cup all‑purpose flour, 1 cup granulated sugar, and 1/2 cup unsalted butter. The flour provides structure, while the sugar sweetens and the butter adds richness and a tender crumb. If you skip the butter, the cupcakes will be dry and lacking that silky mouthfeel. For a gluten‑free version, substitute a 1:1 blend of gluten‑free flour mix and keep the ratios the same.
The 1/2 cup buttermilk is crucial for activating the baking soda and adding a subtle tang that balances the sweetness. It also helps the batter stay moist during baking. If you don’t have buttermilk, a mixture of milk and a splash of vinegar or lemon juice works well as a substitute. Remember, the acidity in buttermilk is what makes the cupcakes light and airy.
The Texture Crew
The 1 tsp baking soda and 1/2 tsp salt are the unsung heroes that lift the batter and bring out the chocolate flavor. Too much baking soda will give the cupcakes a bitter aftertaste, so measure carefully. The 1 tbsp red food coloring gives the batter its eerie crimson hue, while the 1 tsp vanilla extract adds depth and warmth. If you prefer a more natural color, use beet juice or a few drops of natural red dye.
The 1/4 cup cocoa powder is the backbone of the chocolate flavor. A high‑quality Dutch‑processed cocoa gives a smoother, less acidic taste, which is ideal for this recipe. If you’re using natural cocoa, consider adding a pinch of espresso powder to enhance the chocolatey notes. The texture of the batter should be smooth and free of lumps; use a whisk or an electric mixer to achieve this.
The Unexpected Star
Red velvet cake crumbs add a unique texture and a subtle tang that elevates the overall flavor profile. Crush the crumbs finely so they distribute evenly in the batter. If you don’t have red velvet cake, you can use plain cake crumbs and add a splash of red food coloring to mimic the effect. The crumbs also give the cupcakes a slightly gritty bite that mimics the texture of a vampire’s bite.
The 1/2 cup sweetened condensed milk is the secret to a silky, moist interior. It coats the batter and adds a creamy sweetness that balances the cocoa. If you’re watching your sugar intake, replace it with a sugar‑free condensed milk or a lighter sweetener. The condensed milk also helps the glaze set faster, giving you a glossy finish.
The Final Flourish
The 3 cups powdered sugar, 1/4 cup milk or heavy cream, and 1 tbsp ivory or peach food coloring create the frosting that looks like fresh blood. The powdered sugar gives the frosting its smooth, silky texture, while the milk or heavy cream adjusts the consistency. The food coloring should be added gradually to avoid an overly bright hue. The frosting should be thick enough to hold the candy fangs and drip slightly when you tilt the cupcake.
The 1 pkg candy fangs are the playful finishing touch that turns the cupcakes into a Halloween spectacle. Place the fangs at the top of each cupcake, securing them with a dab of frosting. The fangs add a crunchy texture that contrasts with the smooth frosting. If you can’t find candy fangs, small plastic teeth or even a toothpick with a red sticker works as a creative alternative.
The 1 cup red syrup or edible red gel is the finishing glaze that gives the cupcakes their signature blood‑red sheen. Pour the syrup over the frosted cupcakes just before serving, letting it pool in the center for a dramatic effect. The syrup should be thick enough to coat the frosting but still pourable. This final touch creates a visual and taste experience that will have everyone asking for the recipe.
The 2 pieces straws are a quirky addition that adds a playful element to the presentation. Insert them into the cupcakes or use them as a prop for a photo. They’re optional but add a fun twist that kids will love.
Everything's prepped? Good. Let's get into the real action and bring these cupcakes to life.
The Method — Step by Step
- Preheat your oven to 350°F (175°C). Line a 12‑cup muffin tin with paper liners. This step ensures even baking and prevents sticking. As the oven heats, you’ll notice the air filling with anticipation.
- In a large mixing bowl, cream 1/2 cup unsalted butter and 1 cup granulated sugar until light and fluffy. Use an electric mixer on medium speed for about 3 minutes. This creates the airy base that holds the cupcake together. When the mixture is pale, you know it’s ready.
- Add the 2 large eggs one at a time, beating well after each addition. The eggs bind the batter and give it structure. Make sure each egg is fully incorporated before adding the next to avoid lumps.
- In a separate bowl, whisk together 1 cup all‑purpose flour, 1/4 cup cocoa powder, 1 tsp baking soda, and 1/2 tsp salt. Sifting the dry ingredients prevents clumps and ensures an even distribution. The dry mix should feel light and airy.
- Add the dry mixture to the wet batter in three parts, alternating with 1/2 cup buttermilk. Begin and end with the dry mix. This technique keeps the batter from curdling and ensures a smooth texture. The batter should look glossy and pourable.
- Stir in 1 tbsp red food coloring until the batter turns a deep crimson. The color should be vivid but not too bright. This step is pure visual magic; the cupcakes will look like freshly drawn blood.
- Fold in 1 cup red velvet cake crumbs gently. The crumbs should be evenly distributed to avoid pockets. The batter will have a subtle gritty texture that mimics a vampire’s bite.
- Fill the paper liners 2/3 full with batter. This gives the cupcakes enough room to rise without overflowing. The batter should be spooned carefully to avoid spilling.
- Bake for 18–20 minutes, or until a toothpick inserted into the center comes out clean. The cupcakes should have a slightly domed top and a crisp edge. Let them cool on a wire rack for 10 minutes before frosting.
- While the cupcakes cool, prepare the frosting. In a medium bowl, sift 3 cups powdered sugar and add 1 tbsp ivory or peach food coloring. Add 1/4 cup milk or heavy cream gradually until you reach a thick, spreadable consistency. The frosting should be smooth and glossy.
- Spread the frosting over the cooled cupcakes. The frosting should cover the entire surface and drip slightly from the edges. This gives the cupcakes a luscious, blood‑like appearance.
- Insert candy fangs at the top of each cupcake, securing them with a dab of frosting. The fangs should sit snugly and be visible from all angles. This adds a fun, spooky twist.
- Drizzle 1 cup red syrup or edible red gel over the frosted cupcakes. The glaze should pool in the center, creating a dramatic effect. Let the glaze set for a minute before serving.
- Optional: Place 2 pieces of straw into the bottom of the cupcake for a playful touch. The straws add a whimsical element that kids will love.
That's it — you did it. But hold on, I've got a few more tricks that'll take this to another level. These insider tips will ensure your cupcakes are flawless every time.
Insider Tricks for Flawless Results
The Temperature Rule Nobody Follows
Many bakers think a higher oven temperature always gives a better rise, but that’s a myth. The key is to bake at a steady 350°F (175°C) to allow the cupcakes to rise slowly and evenly. If you raise the temperature, the cupcakes may set too quickly on the outside, leaving the inside undercooked. I’ve baked these cupcakes at 350°F for years, and the results are consistently light and fluffy.
Why Your Nose Knows Best
Trust your senses. When the cupcakes are done, the smell will be warm, slightly chocolatey, with a hint of vanilla. If you smell a metallic or sour note, it means the batter has overbaked. The smell is a reliable indicator that the cupcakes are ready to cool and frosted.
The 5-Minute Rest That Changes Everything
After removing the cupcakes from the oven, let them rest on the rack for exactly five minutes before frosting. This rest period allows the steam to escape, preventing the frosting from sliding off. A quick rest also helps the cupcakes maintain their shape.
The Secret Ingredient Swap
If you’re allergic to dairy, use a plant‑based milk for the batter and frosting. Almond milk or oat milk works well, but make sure to choose an unsweetened variety to avoid extra sweetness. The texture will remain moist and light.
The Fangs Placement Trick
Place the candy fangs at a slight angle to create a more dramatic look. The angled fangs look like they’re biting into the cupcake. This small adjustment adds a professional touch to your presentation.
The Final Glaze Finish
When drizzling the red syrup, use a squeeze bottle for control. This ensures the glaze pools in the center and spreads evenly. The result is a glossy, blood‑red finish that’s impossible to resist.
Creative Twists and Variations
Chocolate‑Berry Fusion
Swap the red syrup with a raspberry coulis for a tart, berry‑infused glaze. The tartness balances the chocolate, creating a sophisticated flavor profile. This variation is perfect for guests who prefer a less sweet dessert.
Caramel‑Cranberry Delight
Replace the candy fangs with crushed candied cranberries. The sweet‑tart bite adds a festive touch. Pair with a caramel drizzle for an indulgent twist.
Spiced Pumpkin Vengeance
Add 1/2 cup pumpkin puree to the batter for a subtle, autumnal flavor. Use pumpkin spice to season the frosting for a warm, comforting taste. This version is ideal for fall gatherings.
Minty Blood Moon
Add a few drops of mint extract to the frosting for a fresh, cool contrast. The mint pairs surprisingly well with the chocolate base. The result is a refreshing, spooky treat.
Chocolate‑White Chocolate Layer
Create a two‑layer cupcake by adding a thin layer of white chocolate ganache between the batter and frosting. The ganache adds a silky texture and a subtle sweetness that complements the dark base. This variation feels like a decadent dessert.
Vegan Vampire Bite
Use plant‑based butter, almond milk, and coconut sugar to make the cupcakes vegan. Substitute the sweetened condensed milk with coconut condensed milk. The final product is a guilt‑free, spooky delight.
Storing and Bringing It Back to Life
Fridge Storage
Store the cupcakes in an airtight container at room temperature for up to 3 days. The frosting may soften slightly, but the cupcakes remain fresh. For longer freshness, keep them in the fridge; the frosting will firm up.
Freezer Friendly
Freeze the cupcakes in a single layer on a parchment paper‑lined tray for 24 hours before transferring to a freezer bag. When ready to serve, let them thaw at room temperature for 30 minutes. The cupcakes retain their texture and flavor.
Best Reheating Method
Reheat the cupcakes in a 350°F (175°C) oven for 5 minutes, then let them cool briefly before frosting again. Add a tiny splash of water to the frosting before reheating to keep it moist. This trick revives the cupcakes to their original freshness.