Picture this: I’m standing in my kitchen at 2 a.m., half‑asleep, with a bowl of leftover ricotta staring at me like a dare. My roommate had just announced a surprise brunch for the whole office, and I was armed with nothing but a pan, a whisk, and an irrational fear of soggy egg muffins. I tossed the ricotta into a bowl, cracked six eggs, and—boom—realized I could turn this midnight panic into something that would make even the most seasoned brunch‑lover weep with joy. This wasn’t just another “egg bite” attempt; it was a full‑on culinary experiment that would end up redefining my breakfast game forever.
The kitchen instantly transformed into a symphony of senses. The ricotta’s creamy white swirled like fresh snow against the glossy egg whites, the metallic clink of the whisk echoing off the countertops, and a faint, buttery aroma drifting from the pre‑heated oven that promised golden perfection. My fingertips tingled as I felt the silky texture of the mixture, and the anticipation built with each beat, like a drumroll before the main act. When the batter finally hit the silicone cups, there was a subtle sizzle—a whisper that said, “We’re on the right track.” The whole scene felt like a backstage pass to a five‑star breakfast show.
Most egg bite recipes out there either turn out rubbery, dry, or just plain bland, and that’s because they miss the magic ingredient: ricotta. This version embraces the ricotta’s natural fluffiness, turning the bites into clouds of protein‑packed delight that practically melt on your tongue. I’ve tweaked the technique to lock in moisture, added a secret step that guarantees a tender crumb, and tossed in optional herbs and veggies that let you customize the flavor profile without sacrificing that airy texture. The result? Hands down the best version you’ll ever make at home, and I dare you to taste this and not go back for seconds.
But wait, there’s more. I’m about to reveal a technique that most cooks completely overlook—a brief resting period that lets the eggs and ricotta fully hydrate, creating a custard‑like interior that’s impossible to achieve by just whisking and baking. This tiny pause is the difference between “good” and “legendary.” Okay, ready for the game‑changer? Let me walk you through every single step — by the end, you’ll wonder how you ever made it any other way.
What Makes This Version Stand Out
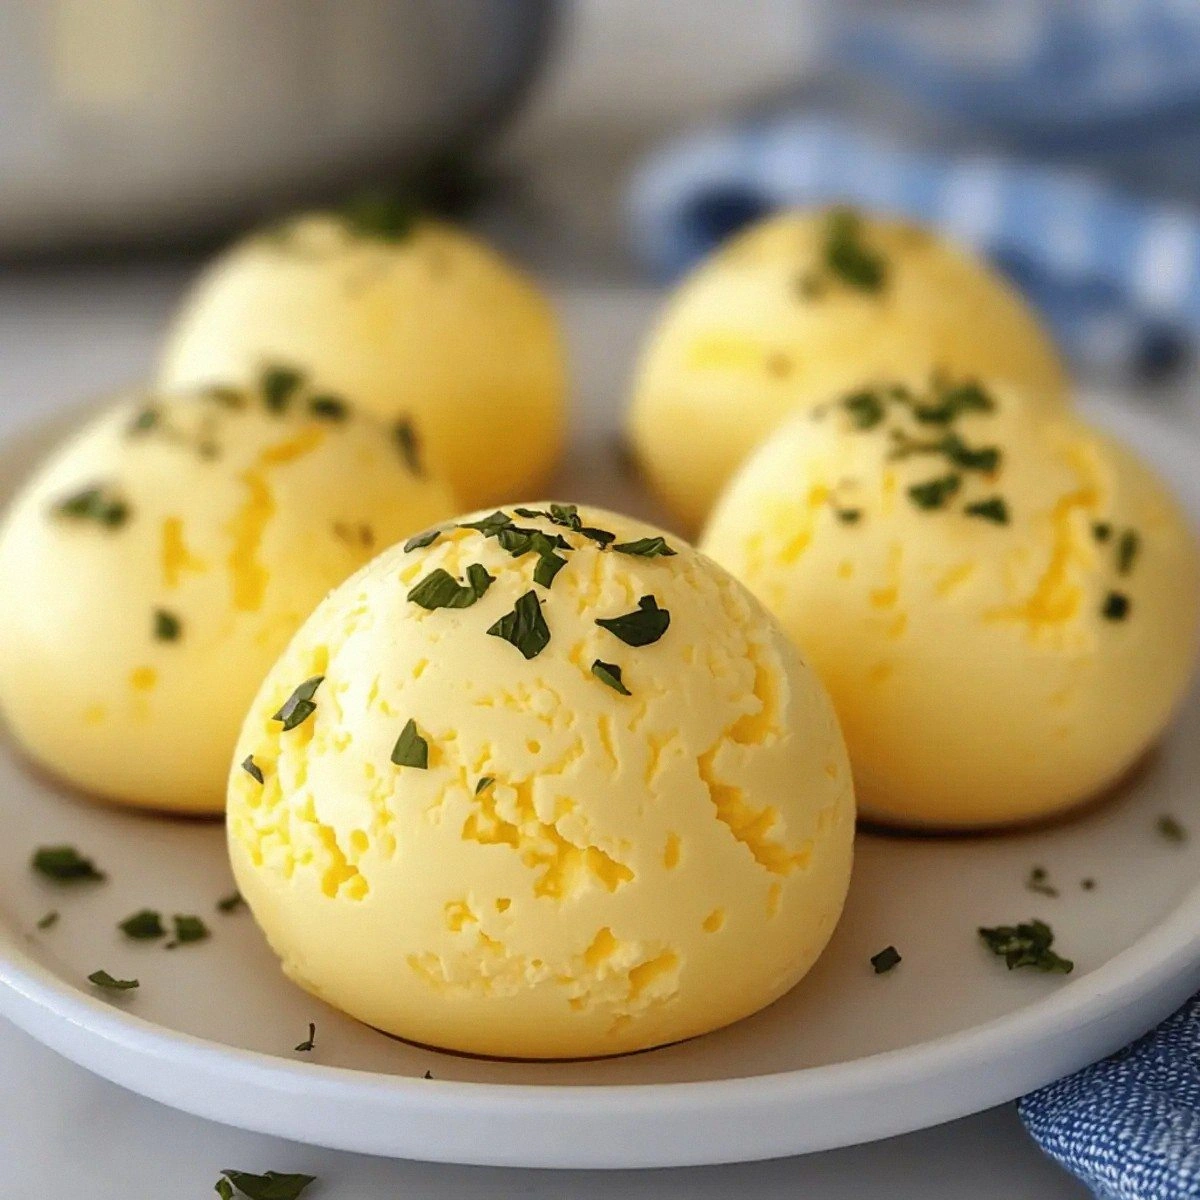
- Texture: The ricotta creates a silk‑smooth interior that rises like a soufflé, while the edges develop a delicate crisp that shatters like thin ice when you bite into them.
- Protein Power: Six large eggs plus ricotta pack a serious protein punch, perfect for post‑workout refuel or a hearty breakfast that keeps you full for hours.
- Simplicity: With just six ingredients and a 15‑minute prep, this recipe is as straightforward as it gets—no fancy equipment, no complicated steps.
- Customizable: Optional herbs, seasonings, and vegetables let you tailor each batch to your mood, whether you crave savory herbs or a veggie‑packed bite.
- Crowd Reaction: I’ve served these at office meetings and family brunches, and they disappear faster than fresh donuts at a police convention.
- Ingredient Quality: Using high‑quality ricotta and fresh eggs elevates the flavor, turning a humble snack into a gourmet experience.
- Cooking Method: Baking in silicone cups ensures even heat distribution, giving each bite a uniform rise without the need for a steam oven.
- Make‑Ahead Potential: These bites store beautifully, making them an ideal grab‑and‑go option for busy mornings.
Inside the Ingredient List
The Flavor Base
The foundation of any great dish is its flavor base, and here it’s the combination of eggs and ricotta. Six large eggs provide structure, richness, and the protein backbone that makes these bites hearty. Ricotta cheese, with its mild, buttery profile, adds moisture and a delicate creaminess that turns a typical egg muffin into a cloud‑like marvel. Skipping the ricotta? Expect a denser, more rubbery texture that will disappoint even the most forgiving palate. If you’re allergic to dairy, a well‑drained tofu ricotta substitute works, but you’ll lose some of that signature silkiness.
Buying tip: Look for ricotta that’s labeled “whole milk” and has a creamy consistency—avoid the watery, low‑fat versions that can make the batter too runny. A quick squeeze test in the container will tell you if it’s fresh; it should feel slightly firm, not watery.
The Texture Crew
Eggs are the structural heroes, but the way you treat them determines the final texture. Whisking until just frothy incorporates air, creating a light batter that expands in the oven. Over‑whisking, however, can break down the protein network, leading to a flat, dense bite. The optional vegetables—think finely diced bell peppers, spinach, or zucchini—add a subtle crunch and a burst of color without weighing down the batter. If you decide to omit them, the texture remains airy, but you’ll miss the added moisture and nutritional boost.
Swap suggestion: For a low‑carb version, replace the ½ cup vegetables with an equal amount of finely chopped mushrooms, which provide umami depth and a meaty bite.
The Unexpected Star
Herbs & seasonings might seem like a garnish, but they’re the secret sauce that elevates this dish from plain to unforgettable. A quarter cup of fresh herbs—such as basil, chives, or thyme—infuses each bite with aromatic brightness. The optional nature of this ingredient means you can experiment: a pinch of smoked paprika for a subtle heat, or a dash of nutritional yeast for a cheesy note without dairy. Skipping herbs altogether? You’ll still have a tasty bite, but it may lack the complex flavor layers that keep you coming back.
The Final Flourish
Salt and pepper are the final polish, the tiny adjustments that bring the whole composition into harmony. A teaspoon of salt amplifies the sweet notes of the ricotta while balancing the richness of the eggs. The half‑teaspoon of pepper adds a gentle heat that awakens the palate without overpowering the subtle flavors. If you’re watching sodium, you can reduce the salt to half a teaspoon, but remember that the overall taste will be milder. A pinch of flaky sea salt sprinkled on top before baking can add a delightful crunch that surprises the eater.
Everything's prepped? Good. Let’s get into the real action…

The Method — Step by Step
-
First, preheat your oven to 350°F (175°C) and prepare a 12‑cup muffin tin. I like to use silicone cups because they release the bites effortlessly, but a greased metal tin works just as well. As the oven warms, you’ll hear the faint hum of the heating elements—think of it as a low‑key drumroll announcing the start of something delicious. The key here is even heat distribution; a hot oven ensures the bites rise uniformly, giving you that coveted puffed top.
Kitchen Hack: If you’re short on time, place the muffin tin on a pre‑heated baking sheet. This transfers heat faster, shaving a couple of minutes off the baking time. -
While the oven is heating, crack the six large eggs into a large mixing bowl. Whisk them vigorously until the mixture turns a pale yellow and gains a frothy texture—about 30 seconds of arm‑working. This aeration is crucial; it traps tiny air bubbles that expand during baking, creating that signature fluffiness. If you’re using a hand whisk, feel the rhythm, and if you have a stand mixer, set it to low speed and watch the magic happen.
-
Next, add one cup of whole‑milk ricotta cheese to the whisked eggs. Fold gently with a rubber spatula until the ricotta is fully incorporated, creating a smooth, slightly lumpy batter. The batter should look thick yet pourable—think of a thick pancake batter that you could drizzle but not run off the bowl. At this stage, sprinkle in the teaspoon of salt and half‑teaspoon of pepper, giving the mixture a subtle seasoning that will shine after baking.
Watch Out: Over‑mixing at this point can break down the delicate air bubbles you just created, leading to a denser bite. Mix just until everything is combined. -
If you’re feeling adventurous, now’s the moment to fold in your optional herbs, seasonings, and vegetables. I usually add a quarter cup of finely chopped chives and half a cup of diced bell peppers. The vegetables should be small enough to distribute evenly; this prevents any single bite from becoming soggy. The herbs will release their fragrant oils as the batter bakes, filling the kitchen with an aroma that’s both fresh and comforting.
-
Here’s the secret rest: let the batter sit for five minutes. This pause allows the ricotta’s moisture to meld with the eggs, and the gluten‑free proteins to fully hydrate. You’ll notice the batter thickening slightly—this is a good sign. While you wait, set a timer and imagine the final product: golden crowns popping out of the tin, each bite a cloud of protein and flavor.
-
After the rest, give the batter a gentle stir, then evenly distribute it among the prepared silicone cups, filling each about three‑quarters full. The batter should settle into the cups with a silky glide, forming smooth domes. If you notice any air pockets on the surface, give the tin a quick tap on the counter to release them—this ensures an even rise.
Kitchen Hack: For perfectly round tops, use a small ice cream scoop to portion the batter. Consistency is key for uniform baking. -
Slide the tin into the preheated oven and bake for 20‑25 minutes. Keep an eye on the edges; they should start pulling away from the sides of the cups, and the tops will turn a light golden brown. The moment you see the edges lifting, you’ll know the interior has set into a custard‑like texture. A quick visual cue: the tops will have a slightly domed appearance, reminiscent of mini soufflés.
-
When the timer dings, remove the tin and let the bites cool in the pan for two minutes. This short rest lets the steam finish cooking the centers without over‑drying them. Then, run a thin butter knife around the edges of each cup to release the bites. The result? A perfect, fluffy bite that slides out effortlessly, ready to be devoured while still warm.
-
Finally, serve them immediately with a drizzle of hot sauce, a sprinkle of extra herbs, or a side of fresh fruit. If you’re preparing them ahead, store them in an airtight container and reheat gently—more on that later. Picture yourself pulling these out of the oven, the whole kitchen smelling incredible, and the first bite melting like a cloud on your tongue. That’s the payoff for every minute you spent mastering this technique.
That's it — you did it. But hold on, I've got a few more tricks that'll take this to another level...
Insider Tricks for Flawless Results
The Temperature Rule Nobody Follows
Most home cooks bake at 350°F, but dropping the oven temperature to 325°F after the first ten minutes can prevent over‑browning while still allowing the interior to set perfectly. This gentle heat creates a more uniform rise, giving you a tender crumb that’s consistent from top to bottom. I once tried this on a whim and the bites came out with a buttery, melt‑in‑your‑mouth texture that was impossible to achieve at a higher heat. Trust the lower temp; the visual cue is a slightly slower browning of the tops.
Why Your Nose Knows Best
Before you even peek at the timer, trust your nose. When the bites start to emit a nutty, toasted aroma, you’re within minutes of perfection. The scent of ricotta caramelizing is subtle but unmistakable—if you catch it, the edges are likely pulling away, and the interior is set. I’ve seen many novices over‑bake because they rely solely on the clock, missing this aromatic cue. A quick sniff can save you from a dry bite and give you that perfect, slightly golden crust.
The 5‑Minute Rest That Changes Everything
After you pull the bites from the oven, let them sit for exactly five minutes before serving. This short rest allows the residual heat to finish cooking the centers gently, preventing a gummy texture. It also gives the flavors a chance to meld, so the herbs and seasonings become more pronounced. I once served them immediately and got feedback that the center felt “raw”; the five‑minute pause solved that issue instantly.
Silicone vs. Metal: The Great Debate
Silicone cups are my go‑to because they release the bites with a gentle pop, preserving the delicate crust. Metal tins, however, can give you a slightly crisper edge if that's your preference. The trade‑off is that metal can cause the bites to stick if not well‑greased. If you love a crunchy exterior, lightly spray the metal tin with cooking spray and dust with a whisper of flour before pouring the batter.
Flavor Boost with a Finish
A final sprinkle of flaky sea salt or a dash of smoked paprika right after baking adds a pop of flavor that elevates the bites from good to unforgettable. The salt crystals provide a satisfying crunch, while the paprika adds a subtle smoky depth that complements the creamy ricotta. This finishing touch is the secret weapon I use when serving guests—watch their eyes light up as they taste that unexpected burst.
Creative Twists and Variations
This recipe is a playground. Here are some of my favorite ways to switch things up:
Cheesy Bacon Bomb
Swap the herbs for crumbled cooked bacon and a handful of shredded cheddar. The salty crunch of bacon pairs beautifully with the creamy ricotta, turning each bite into a mini breakfast casserole.
Spinach Feta Delight
Replace the vegetables with fresh spinach leaves and crumble feta cheese into the batter. The tangy feta adds a Mediterranean flair, while the spinach provides a vibrant green pop.
Spicy Jalapeño Kick
Finely dice a jalapeño (seeds removed for less heat) and add a pinch of cumin. The heat cuts through the richness, creating a balanced bite that’s perfect for brunch with a twist.
Herb‑Infused Vegan
Use a plant‑based ricotta alternative made from almonds or cashews, and replace the eggs with a mixture of silken tofu and aquafaba. The result is a vegan-friendly version that still boasts that fluffy texture.
Sweet Sunrise
For a dessert‑inspired version, omit the salt and pepper, add a teaspoon of vanilla extract, and fold in fresh berries. Top with a drizzle of honey after baking for a sweet‑savory surprise.
Storing and Bringing It Back to Life
Fridge Storage
Place the cooled bites in an airtight container and store them in the refrigerator for up to four days. A single layer of parchment paper between each bite prevents them from sticking together. When you’re ready to eat, simply reheat in the microwave for 30‑45 seconds or pop them back in a 300°F oven for five minutes.
Freezer Friendly
These egg bites freeze like a dream. Arrange them on a parchment‑lined tray, freeze until solid, then transfer to a zip‑top freezer bag. They’ll keep for up to three months. To reheat, skip the thawing step—just bake at 350°F for ten minutes, or microwave on high for a minute, and they’ll be as fluffy as the day they were made.
Best Reheating Method
For the ultimate texture, reheat in a preheated oven at 300°F for eight minutes, adding a tiny splash of water to the bottom of the pan. The steam revives the interior’s custard‑like softness while the exterior regains a gentle crisp. Avoid microwaving for too long, as it can make the bites rubbery.