I was standing in my kitchen, elbow‑deep in a bowl of flour, when my roommate walked in holding a half‑eaten store‑bought sugar cookie. She took one bite, made a face, and said, “This is what happens when you skip the cheesecake part.” I laughed, but inside I felt a tiny spark of challenge. I dared myself to create a cookie that would make even the most skeptical cookie‑monster weep with joy. The result? A Holiday Sugar Cookie Cheesecake Fluff Delight that makes the phrase “just a cookie” sound like a betrayal.
Picture this: the oven door swings open, and a wave of buttery‑sweet aroma rolls out, hugging the air like a warm blanket. The scent of vanilla and lemon zest flirts with the faint tang of cream cheese, while a whisper of toasted sugar crystals crackles in the background. You hear the soft sigh of the batter settling into the pan, the faint pop of the edges turning golden, and the occasional giggle from the kitchen timer that seems to be cheering you on. Your fingertips feel the buttery dough give way under the whisk, and the first bite? A cloud‑like fluff that melts, then snaps back with a buttery crunch that shatters like thin ice.
Why does this version stand out from every other holiday cookie you’ve ever tried? Most recipes either drown the cookie in cheesecake filling or forget the fluffy texture that makes a bite feel like a celebration in your mouth. This one balances the dense, creamy richness of cheesecake with the light, airy lift of a perfectly aerated batter, all wrapped in a sugar‑cookie crust that’s crisp on the outside and melt‑in‑your‑mouth on the inside. The secret is a simple technique I stumbled upon while watching a pastry chef whisk a mousse – a quick‑whip of heavy cream folded into the batter at just the right moment. That step is the game‑changer that turns a good cookie into a legendary one.
I’ll be honest — I ate half the batch before anyone else got a chance to try it, and I dare you to taste this and not go back for seconds. The next part? Pure magic. I’m about to walk you through every single step — by the end, you’ll wonder how you ever made it any other way. So grab your mixing bowls, preheat that oven, and let’s get started.
What Makes This Version Stand Out
- Flavor Fusion: The subtle tang of cream cheese meets the classic sweet sugar‑cookie profile, creating a taste that feels both familiar and daringly new.
- Texture Triumph: A crisp edge gives way to a cloud‑like interior, thanks to the whipped‑cream technique that injects airy pockets into every bite.
- Simplicity: Only twelve ingredients, most of which you already have on hand, so you won’t need a trip to the specialty store.
- Unique Twist: The optional red food coloring and festive sprinkles turn this into a holiday centerpiece without sacrificing elegance.
- Crowd Reaction: Guests constantly ask for the “secret” and end up begging for the recipe, which makes you look like a culinary wizard.
- Ingredient Quality: Using full‑fat cream cheese and real butter ensures a rich mouthfeel that low‑fat shortcuts can’t mimic.
- Cooking Method: Baking at a moderate temperature preserves the delicate fluff while giving the edges that coveted caramelized bite.
- Make‑Ahead Potential: These cookies keep beautifully for up to three days, and they even taste better after a night of resting as flavors meld.
Inside the Ingredient List
The Flavor Base
All‑purpose flour is the backbone of any great cookie. It provides structure without weighing the batter down. If you swap it for cake flour, you’ll notice a softer crumb, but you’ll also lose some of that satisfying snap on the edges. Choose a high‑quality, unbleached brand for the most neutral flavor. Pro tip: Sift the flour with the baking powder and soda to avoid any lumps that could create uneven pockets.
Granulated sugar adds sweetness and contributes to the crispness of the cookie’s exterior. It caramelizes just enough to give you that golden‑brown finish. Skipping it or replacing it with a low‑calorie alternative will result in a pale, flat cookie that lacks the holiday sparkle. For a deeper flavor, you can substitute half of it with light brown sugar, which adds a subtle molasses note.
The Texture Crew
Unsalted butter, softened, is the secret to that melt‑in‑your‑mouth mouthfeel. The fat coats the flour particles, limiting gluten development and keeping the cookie tender. If you use margarine, you’ll get a different flavor profile and a slightly greasy texture. Make sure the butter is just soft enough to leave an imprint when you press it with a finger – not melted, not rock‑hard.
Cream cheese, full‑fat and at room temperature, injects a tangy richness that sets this cookie apart from ordinary sugar cookies. It also adds moisture, ensuring the interior stays fluffy even after cooling. Skipping it will turn the cookie into a plain sugar version, and you’ll lose that luxurious mouthfeel that makes guests swoon.
The Unexpected Star
Heavy cream, folded in at the last minute, is the unsung hero that creates the “fluff” in this delight. When whipped just enough to form soft peaks, it creates tiny air bubbles that expand during baking, giving the cookie its cloud‑like interior. If you over‑whip, you’ll end up with butter‑like chunks that weigh the batter down. Keep a close eye on the texture – you’re aiming for a light, airy consistency.
Lemon zest adds a bright, citrusy pop that cuts through the richness of the cream cheese and butter. It’s the secret weapon that keeps the flavor from feeling heavy. If you don’t have fresh lemons, a teaspoon of lemon extract works, but the zest’s aromatic oils are unbeatable.
The Final Flourish
A pinch of salt is the silent conductor that brings all the flavors together, preventing the sweetness from becoming cloying. It also strengthens the gluten just enough to hold the cookie’s shape without making it tough. Don’t skimp – even a small reduction can make the cookie taste flat.
Red food coloring (optional) and festive sprinkles turn this humble cookie into a holiday showstopper. The color is purely aesthetic, but it adds a psychological cue that makes the treat feel more celebratory. If you’re avoiding artificial dyes, a natural beet powder can achieve a similar hue without compromising flavor.
Everything's prepped? Good. Let's get into the real action…
The Method — Step by Step
Preheat your oven to 350°F (175°C) and line two baking sheets with parchment paper. While the oven warms, melt the butter gently in a saucepan over low heat, just until it turns liquid and releases a faint nutty aroma. Let it cool for a minute so it doesn’t scramble the eggs later. This step is the moment of truth – a perfectly tempered butter sets the stage for a uniform crumb.
In a large mixing bowl, whisk together the flour, baking powder, baking soda, and salt. The dry mix should look like a fine, even snow. Watch Out: Over‑mixing at this stage can develop gluten, leading to a tougher cookie. Stop whisking as soon as the ingredients are combined.
In a separate bowl, beat the softened butter with the granulated sugar and powdered sugar until the mixture is pale and fluffy, about 3‑4 minutes on medium speed. The texture should be light enough that a spoonful holds its shape without sliding off the side of the bowl. This is where the sugar‑cookie base gets its signature crispness.
Add the cream cheese to the butter‑sugar blend and continue beating until fully incorporated. The batter will look slightly curdled at first, then smooth out into a velvety pink‑ish hue. If you notice lumps, scrape the sides and keep mixing – the goal is a seamless blend.
Drop in the eggs one at a time, beating well after each addition. Follow with vanilla extract, lemon zest, and, if you’re feeling festive, the red food coloring. The batter should start to thicken, but not become stiff. This is the point where the flavor base really starts to shine.
Now, for the magic: gently fold the whipped heavy cream into the batter. Use a spatula and a lifting motion, turning the bowl over itself to keep as much air as possible.
Kitchen Hack: Add the cream in three batches, waiting 30 seconds between each to let the batter settle, preserving maximum lift.Stir in the sour cream and the optional sprinkles, just until they disappear into the batter. The mixture should be thick enough to hold its shape when scooped but still soft enough to spread slightly on its own.
Using a cookie scoop (about 2 tablespoons), drop dough onto the prepared sheets, spacing them 2 inches apart. Lightly press the tops with the back of a spoon to flatten just a touch; you want a gentle dome that will rise into a fluffy peak.
Bake for 12‑14 minutes, or until the edges turn a light golden brown and the centers are set but still slightly soft to the touch. The scent of toasted butter and vanilla will fill the kitchen – that’s your cue to resist opening the oven early. Let the cookies rest on the sheet for 3 minutes before transferring them to a wire rack.
While the cookies cool, whip a thin glaze of powdered sugar mixed with a splash of milk and a drop of vanilla. Drizzle over the warm cookies for an extra glossy finish, or skip it if you prefer the natural sheen of the baked crust. That final drizzle? Pure magic.
That’s it — you did it. But hold on, I've got a few more tricks that'll take this to another level, ensuring every bite feels like a holiday miracle.
Insider Tricks for Flawless Results
The Temperature Rule Nobody Follows
Most home bakers set the oven and forget about it, but the temperature can fluctuate by up to 25°F depending on your model. Invest in an oven thermometer and aim for 345°F instead of 350°F if you notice a hot spot. This subtle reduction prevents the edges from over‑crisping while still giving the interior enough heat to puff up. A friend once tried baking at 375°F and ended up with a burnt rim and a soggy center – lesson learned.
Why Your Nose Knows Best
Your sense of smell is a more reliable indicator than a timer. When the cookies start to emit a caramel‑butter fragrance and the edges begin to pull away from the parchment, they’re ready. Trust that nose cue; it will prevent the dreaded “over‑baked” disaster that even the most precise timer can’t predict.
The 5‑Minute Rest That Changes Everything
After removing the cookies from the oven, let them rest on the baking sheet for exactly five minutes before transferring to a rack. This short pause allows the interior steam to redistribute, solidifying the fluffy structure without collapsing. Skipping this step often leads to a soggy bottom and a loss of that coveted airy bite.
Sprinkle Timing Secrets
If you love a crunchy topping, add the sprinkles during the last two minutes of baking. This gives them just enough time to adhere and slightly melt without losing their color. Adding them too early will cause the sugars to burn, turning the festive reds and greens into a bitter mess.
The Cool‑Down Flip
For the ultimate glossy finish, flip each cookie onto its side while still warm and let it cool upside‑down on the rack. This technique prevents the bottom from becoming soggy and gives the top a subtle shine as the glaze sets. It’s a small trick that makes a massive visual impact on the plate.
Creative Twists and Variations
This recipe is a playground. Here are some of my favorite ways to switch things up:
Cranberry‑Orange Burst
Swap the red food coloring for a tablespoon of dried cranberries and add orange zest in place of lemon. The tart cranberries contrast beautifully with the sweet base, while orange adds a bright citrus note that screams winter wonderland.
Chocolate‑Swirl Delight
Melt ½ cup dark chocolate and swirl it into the batter just before scooping. The chocolate ribbons create a visual marbled effect and add a rich, bittersweet depth that pairs perfectly with the tangy cheesecake flavor.
Peppermint Mocha Magic
Add a teaspoon of instant espresso powder and a drop of peppermint extract to the batter. The coffee undertones and cooling mint make these cookies a perfect after‑dinner treat for holiday parties.
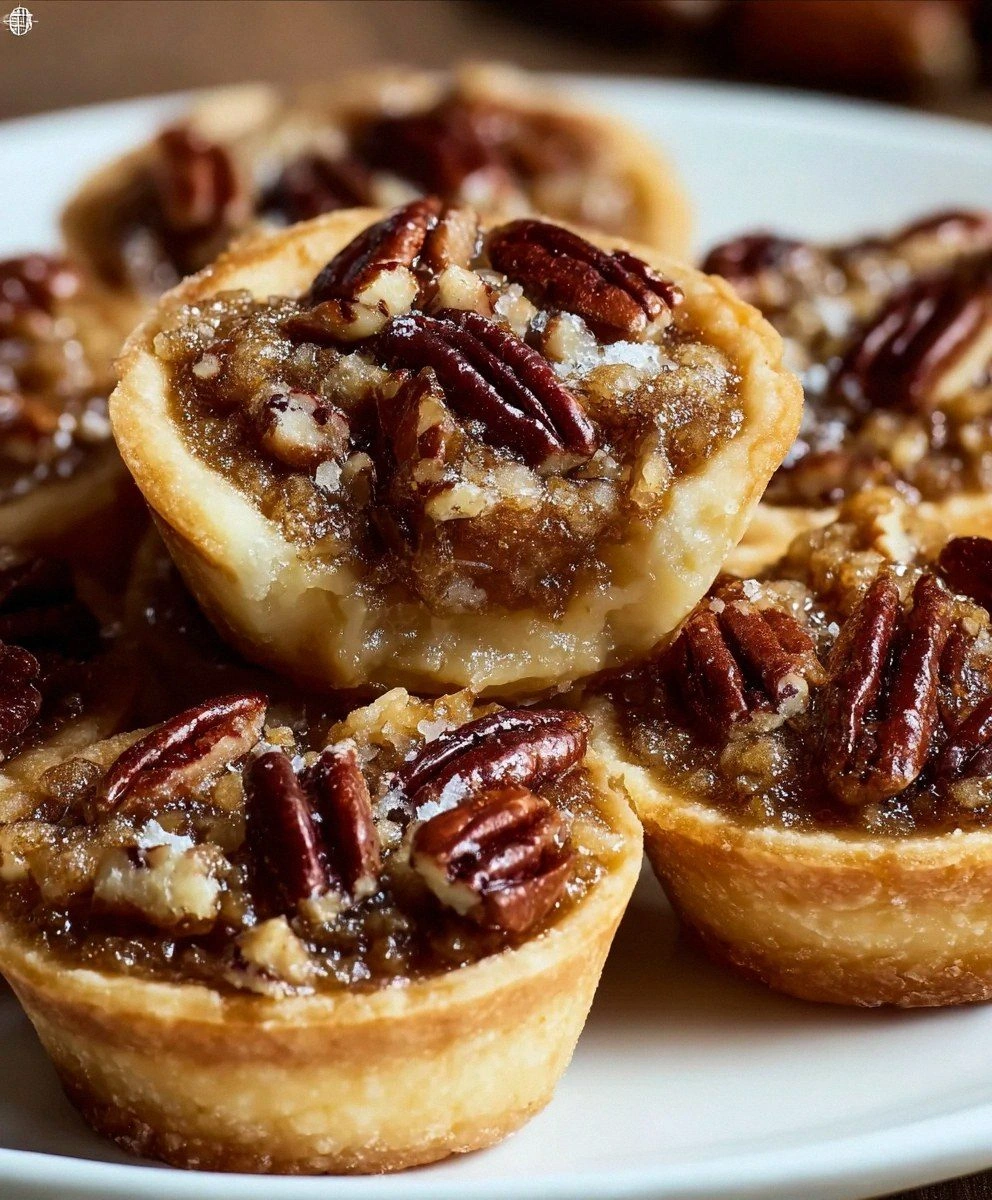
Nutty Caramel Crunch
Fold in ¼ cup toasted chopped pecans and drizzle a caramel glaze over the cooled cookies. The nuts add a satisfying crunch, while the caramel brings a buttery sweetness that elevates the overall flavor profile.
Vegan Velvet
Replace butter with coconut oil, use a plant‑based cream cheese, and swap heavy cream for coconut cream. The result is a vegan-friendly version that still boasts the same fluffy interior and festive appearance.
Storing and Bringing It Back to Life
Fridge Storage
Place the cooled cookies in an airtight container lined with parchment paper. They’ll stay fresh for up to three days. If you notice any condensation, simply open the lid for a minute to let excess moisture escape.
Freezer Friendly
Layer cookies between sheets of wax paper and seal them in a zip‑top freezer bag. They freeze beautifully for up to two months. When you’re ready to enjoy, let them thaw at room temperature for 15 minutes, then give them a quick 5‑minute bake at 300°F to revive the crisp edges.
Best Reheating Method
Before reheating, add a tiny splash (about a teaspoon) of water to the bottom of the container. This creates a gentle steam that restores the interior fluff without drying it out. Warm for 30 seconds in a microwave or 5 minutes in a low oven, and you’ll think they’re fresh out of the oven.