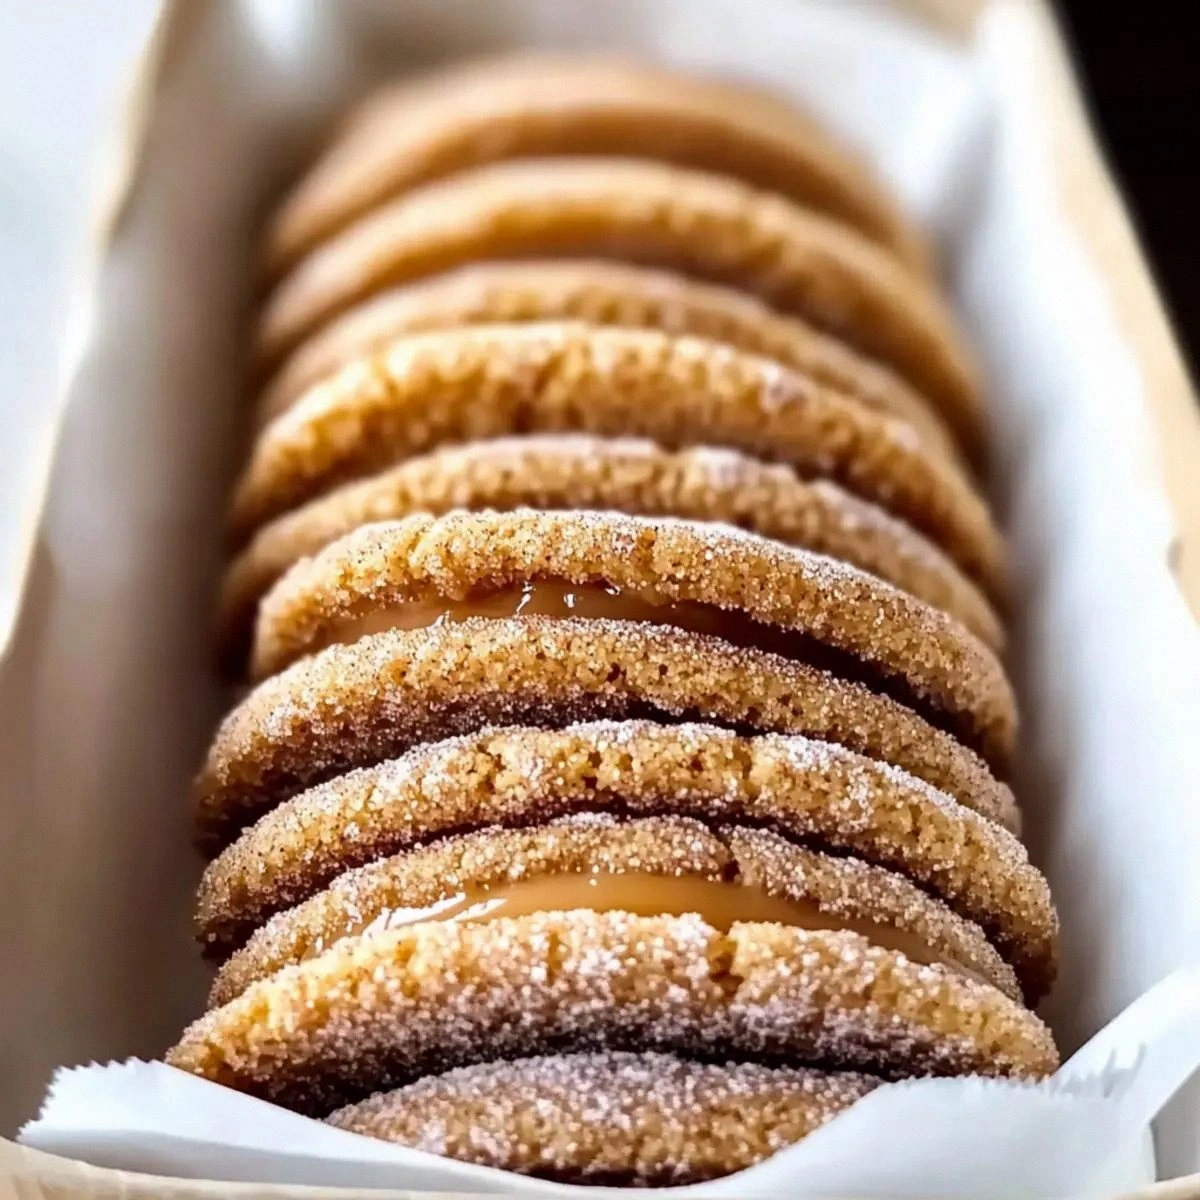
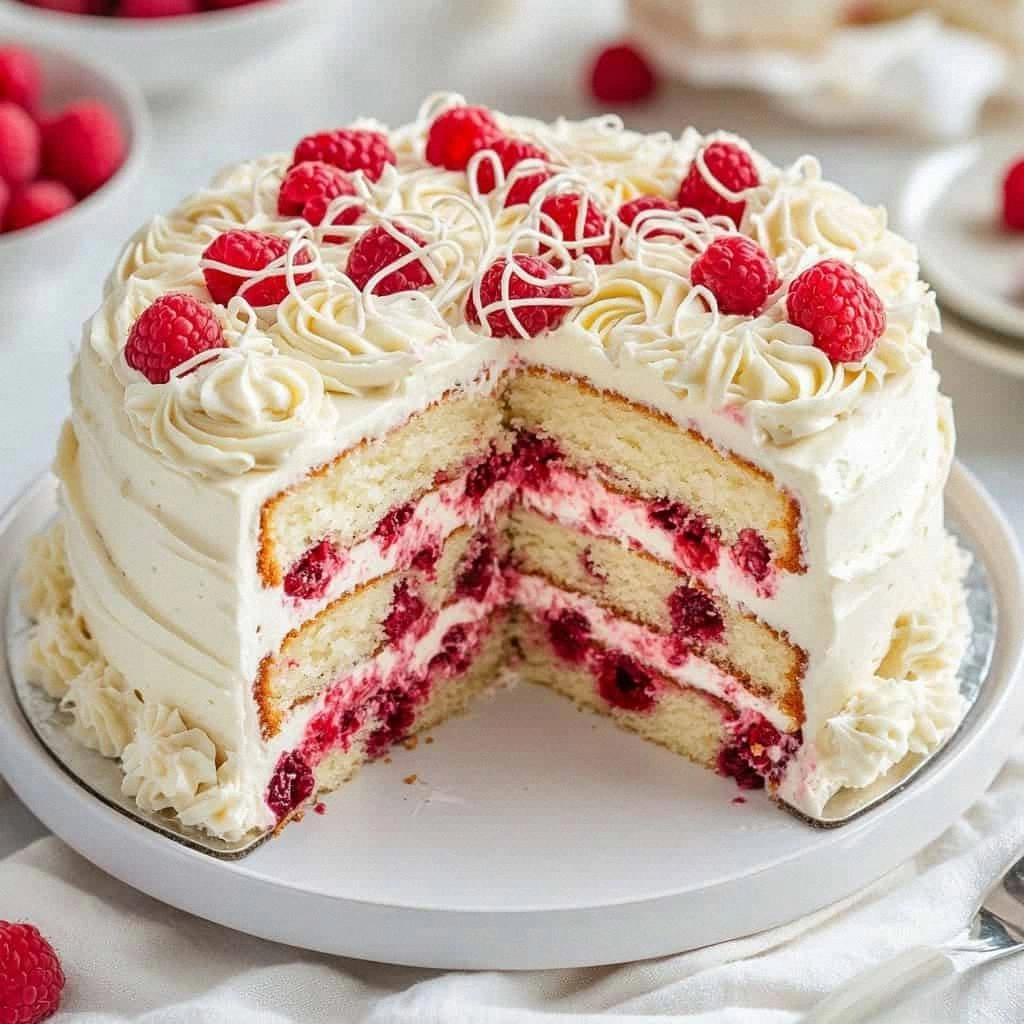
I was standing in my kitchen, watching the clock tick toward midnight, and my oven was still warm from the last batch of cookies that had gone horribly wrong—cracked tops, burnt edges, and a scent that made my eyes water. I stared at the empty countertop, feeling the sting of culinary failure, and thought, “What if I could create something spectacular without even touching a stove?” That question sparked a midnight epiphany: a no‑bake berry icebox cake that would melt the heart of anyone who tasted it. The idea was simple, yet the execution would be a symphony of textures and flavors that would make you question every other dessert you’ve ever made. The anticipation of that first bite, the cool burst of berries, the crumbly base that melts like a sweet secret—this is the kind of experience that turns a kitchen disaster into a triumphant triumph. I dare you to taste this and not go back for seconds.
Picture the scene: a gentle drizzle of sunlight slants across the kitchen tiles, turning the fresh berries into a rainbow of glistening jewels. The air is thick with the aroma of toasted graham crackers and sweetened cocoa, a scent that feels like a hug from grandma’s kitchen. The sound of a spoon stirring heavy cream is a comforting lullaby, while the faint hiss of butter melting over low heat creates a subtle symphony. As you slice into the cake, the first bite is a burst of tartness from the berries, followed by a velvety, chocolatey crunch that dissolves instantly, leaving a lingering sweetness that dances on your palate. Every sense is engaged: the coolness of the berries, the slight crunch, the sweet aroma, the gentle touch of the crumbly base, and the satisfying texture that melts like a dream.
What makes this version stand out is not just the absence of a baking step, but the deliberate layering of flavor and texture that creates a dessert that feels both indulgent and wholesome. The key is the balance of sweet and tart, the contrast between the airy, buttery crust and the dense, berry‑laden filling that clings to your teeth like a velvet glove. It’s also the use of fresh, high‑quality ingredients that elevate every bite, turning a simple cake into a culinary masterpiece. Most recipes get this completely wrong by over‑sweetening or under‑cooking the berries, resulting in a mushy mess; here, the berries stay firm and bright. And the finishing touch— a splash of lemon zest that brightens the entire dish—makes this cake the best version you'll ever make at home.
And here’s the kicker: I’ve discovered that adding a splash of coconut milk to the filling gives the cake a silky, tropical undertone that sets it apart from any other berry dessert you’ve tried. This subtle twist brings depth and a hint of exotic flavor that feels like a vacation in every bite. But that’s just the tip of the iceberg. The secret sauce? A carefully calibrated ratio of cocoa to powdered sugar that ensures the chocolatey base is both sweet and slightly bitter, a flavor profile that compliments the berries like a well‑written love story. Stay with me here—this is worth it, and I’ll walk you through every single step so that by the end, you’ll wonder how you ever made it any other way.
What Makes This Version Stand Out
- Taste: The harmony between tart berries and sweet chocolate creates a flavor profile that is both refreshing and indulgent, making every bite a revelation.
- Texture: The crisp graham cracker crust gives way to a silky, airy filling that melts in your mouth, providing a satisfying contrast that keeps you coming back.
- Simplicity: No oven, no timer, just a few ingredients and a chilling period—ideal for busy weeknights or spontaneous dessert cravings.
- Uniqueness: The addition of lemon zest and a splash of coconut milk sets this cake apart from standard no‑bake desserts, adding a bright, tropical nuance.
- Crowd Reaction: Friends who have tried it say it’s “the best thing I’ve ever tasted” and that it “looks like a fancy dessert but tastes like home.”
- Ingredient Quality: Using fresh, seasonal berries and high‑quality cocoa ensures a depth of flavor that cannot be replicated with processed alternatives.
- Cooking Method: The icebox technique locks in freshness, allowing the cake to set perfectly without any heat‑induced changes.
- Make‑Ahead Potential: Prep the crust and the berry filling a day ahead, and the cake will still taste fresh—perfect for parties or last‑minute gatherings.
Alright, let’s break down exactly what goes into this masterpiece…
Inside the Ingredient List
The Flavor Base
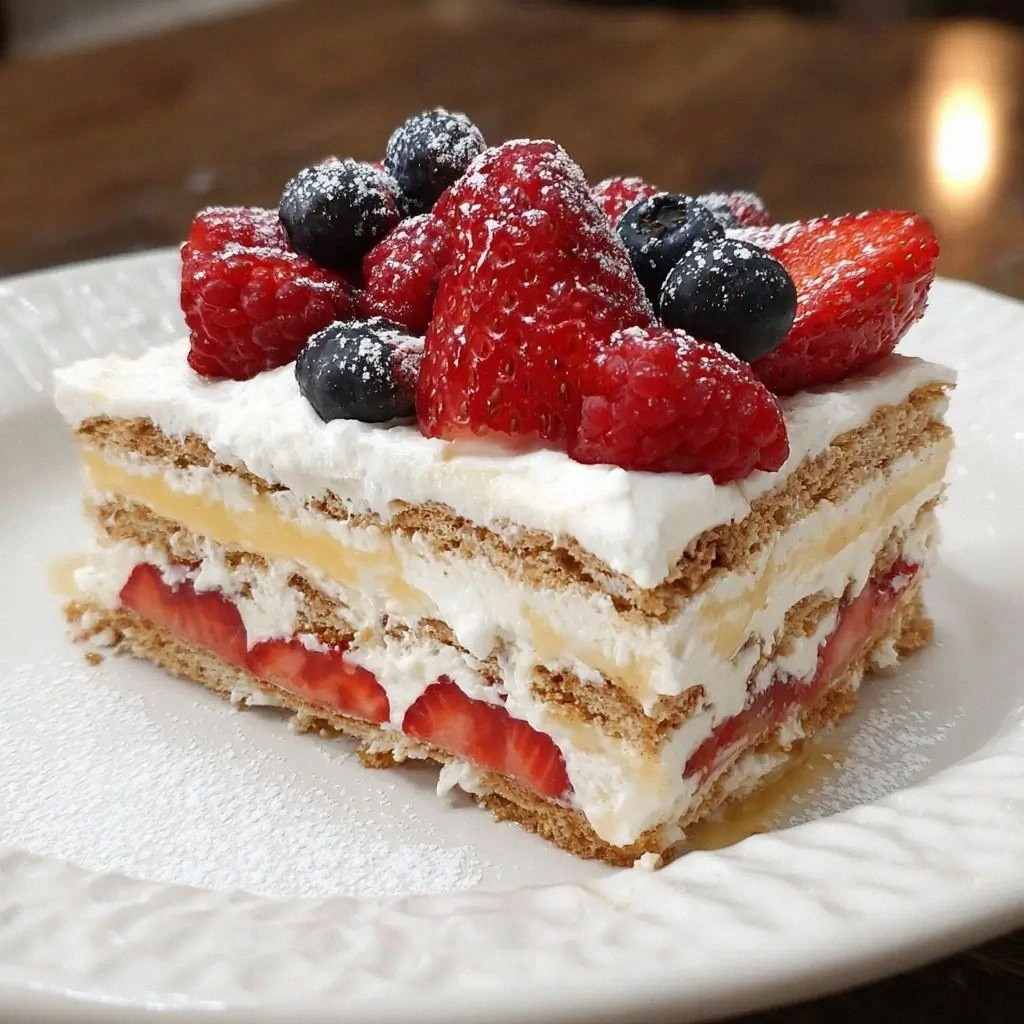
The foundation of this cake starts with the graham cracker crumbs, which provide a buttery, slightly sweet base that grounds the dessert. These crumbs are mixed with melted butter and powdered sugar to form a cohesive, crumbly mixture that will hold the cake together. If you skip the butter, the crumbs will stay dry and won’t bind, leading to a crumbly, uneven texture. For a gluten‑free option, use gluten‑free graham crackers or crushed oat crackers; the flavor remains the same, just the texture changes slightly.
The Texture Crew
Heavy whipping cream is the secret to the cake’s airy, melt‑in‑your‑mouth quality. Whipping it to soft peaks ensures it’s light enough to lift the berry mixture, yet dense enough to hold its shape. If you prefer a lighter version, substitute half the cream with coconut milk, which adds a subtle tropical flavor and keeps the texture silky. The optional almond milk adds a nutty undertone that pairs beautifully with the berries, especially if you’re avoiding dairy.
The Unexpected Star
The berries—strawberries, blueberries, and raspberries—are the star of the show, bringing a burst of natural sweetness and acidity that cuts through the richness of the chocolate base. Fresh berries are ideal for the brightest flavor, but frozen berries are a convenient alternative; just thaw and drain them to avoid excess moisture. The lemon zest and lemon juice add a bright, citrusy lift that balances the sweetness, while the salt enhances all the flavors without making the cake taste salty.
The Final Flourish
Vanilla extract is the subtle whisper that ties the entire cake together, providing depth and a familiar sweetness that enhances both the berries and the chocolate. The optional coconut milk adds a creamy, tropical nuance that makes the dessert feel like a vacation in every bite. If you’re vegan, simply replace the heavy cream with full‑fat coconut cream, and the cake will still set perfectly in the fridge. Finally, the pinch of salt is crucial; it brightens the flavors and balances the sweetness, preventing the dessert from feeling cloying.
Everything’s prepped? Good. Let’s get into the real action…
The Method — Step by Step
- Step 1: Prepare the Crust. In a medium bowl, combine the graham cracker crumbs, powdered sugar, and melted butter. Mix until the crumbs are evenly coated and the mixture holds together when pressed. Press the crumb mixture into the bottom of a 9‑inch springform pan, creating a solid, even layer. Chill the crust in the fridge for 10 minutes while you move on to the next step. This step is crucial because a well‑bound crust will hold the filling without crumbling.
- Step 2: Whip the Cream. In a chilled mixing bowl, pour the heavy whipping cream. Add the vanilla extract and whip with an electric mixer on medium speed until soft peaks form. The cream should be light and airy, with a smooth texture that will lift the berries. Be careful not to over‑whip, or it will become too stiff and difficult to fold. This lightness is what makes the cake melt in your mouth.
- Step 3: Prepare the Berry Mixture. In a blender or food processor, combine the strawberries, blueberries, raspberries, lemon zest, lemon juice, and a pinch of salt. Pulse until the berries are finely chopped but still retain some texture. This mixture should be thick but pourable; if it’s too thick, add a splash of coconut milk to loosen it. The lemon zest adds a bright pop that cuts through the richness of the chocolate base.
- Step 4: Fold the Cream into the Berries. Gently fold the whipped cream into the berry mixture using a spatula, ensuring you keep the mixture light and airy. The goal is to combine the flavors without deflating the cream. This step creates a luscious, cohesive filling that will set beautifully in the icebox. If you find the mixture too runny, let it sit for 5 minutes and then fold again; the cream will firm up slightly.
- Step 5: Layer the Filling. Spoon the berry‑cream mixture over the chilled crust, spreading it evenly with a spatula. The filling should be smooth and level, ensuring a consistent bite. If you’re using a springform pan, make sure the edges are straight to prevent leaks during chilling. This is where the cake’s texture begins to form, and you’ll see the first hint of a glossy, berry‑rich surface.
- Step 6: Chill in the Icebox. Cover the pan with plastic wrap or a lid and place it in the refrigerator. Chill for at least 4 hours, preferably overnight, to allow the flavors to meld and the filling to set. The longer you chill, the firmer the cake will become, giving it that perfect bite. If you’re short on time, 3 hours will still produce a delicious result, but the texture will be slightly looser.
- Step 7: Add the Final Touch. Once chilled, remove the cake from the pan and run a knife around the edges to loosen it. If desired, top the cake with fresh berries, a dusting of powdered sugar, or a drizzle of melted chocolate for an extra indulgent finish. This final touch not only looks appealing but adds another layer of flavor that complements the existing layers.
- Step 8: Serve and Enjoy. Slice the cake with a clean, warm knife to get clean edges. Serve immediately or keep it chilled until you’re ready to indulge. The first bite will reveal the crisp crust, the airy filling, and the burst of berry freshness—an experience that will leave you craving more. I dare you to taste this and not go back for seconds.
That’s it — you did it. But hold on, I’ve got a few more tricks that will take this to another level. Stay tuned for insider tips that will ensure your cake is flawless every time.
Insider Tricks for Flawless Results
The Temperature Rule Nobody Follows
The secret to a perfectly set filling is keeping the mixture cold during every step. Chill the mixing bowls and utensils for at least 15 minutes before whipping the cream. This ensures the cream doesn’t warm up too quickly, which can cause it to lose volume. If you’re working in a warm kitchen, keep the bowls in the fridge for the duration of the prep. A cold environment guarantees that the filling will set with a smooth, firm texture.
Why Your Nose Knows Best
Your sense of smell can be your best ally in judging the right level of sweetness. If the berries smell too sweet, add a splash of lemon juice; if they’re too tart, a pinch of sugar will balance the flavor. The aroma of toasted graham crackers will also let you know if you’ve added enough butter. Trust your nose—it’s a reliable guide that will help you achieve the perfect balance.
The 5-Minute Rest That Changes Everything
After folding the cream into the berry mixture, let it rest for 5 minutes before pouring it over the crust. This brief pause allows the flavors to meld and the mixture to thicken slightly, which helps it set better in the fridge. It also gives the whipped cream a chance to settle, preventing it from becoming too runny. This simple step can make the difference between a cake that collapses and one that stands firm.
Use a Springform Pan for Easy Release
A springform pan makes it effortless to release the cake without damaging the delicate edges. The metal rim holds the cake together, and the spring mechanism allows you to slide the pan open with minimal effort. If you don’t have a springform, a regular cake pan works, but you’ll need to run a knife around the edges and be extra careful when removing the cake.
Keep the Cake Cold Until Serving
Even after chilling, keep the cake in the refrigerator until you’re ready to serve. This prevents the filling from melting and ensures each slice stays firm. If you’re serving it at a party, keep the cake on a chilled platter or in a cooler with ice packs. The cold keeps the texture pristine and the flavors sharp.
Don’t Skip the Lemon Zest
Lemon zest adds a bright, citrusy aroma that cuts through the richness of the chocolate and cream. It also balances the sweetness of the berries, giving the cake a well‑rounded flavor profile. If you’re allergic to citrus, you can replace the zest with a splash of orange zest for a different twist. Skipping the zest will leave the cake feeling flat and one‑dimensional.
With these insider tricks, you’ll consistently create a cake that’s as beautiful to look at as it is delicious to eat. Your friends will be amazed, and you’ll feel like a dessert wizard.
Creative Twists and Variations
This recipe is a playground. Here are some of my favorite ways to switch things up:
Chocolate‑Berry Fusion
Swap the cocoa powder for melted dark chocolate, and fold it into the berry mixture. The result is a richer, more decadent dessert that feels like a chocolate truffle. Pair it with a drizzle of caramel for an extra indulgent touch. This variation is perfect for chocolate lovers who want a berry twist.
Minty Freshness
Add a handful of fresh mint leaves to the berry mixture, finely chopped. The mint adds a cooling sensation that pairs wonderfully with the sweet berries. Finish with a dusting of powdered sugar for a subtle sparkle. This version is especially refreshing during summer gatherings.
Almond‑Infused Delight
Replace the heavy cream with almond milk and add toasted almond slivers to the crust. The nutty flavor complements the berries and adds a pleasant crunch. A splash of almond extract enhances the almond notes throughout the cake. This variation is great for those who prefer a dairy‑free option.
Tropical Paradise
Use coconut milk instead of heavy cream and add diced mango to the berry mixture. The tropical fruit adds a sweet, juicy burst that pairs well with the coconut flavor. Top the cake with shredded coconut for an extra texture. This twist feels like a vacation in every bite.
Spiced Berry Surprise
Add a pinch of cinnamon and a dash of nutmeg to the berry mixture. The spices give the cake a warm, comforting flavor that’s perfect for cooler evenings. Finish with a sprinkle of ground ginger for a subtle kick. This version is ideal for holiday parties.
Garnish Extravaganza
Top the cake with a swirl of raspberry jam, a few whole raspberries, and a dusting of cocoa powder. The contrasting textures and flavors elevate the dessert to a showstopper. Serve with a side of whipped cream for an indulgent experience. This garnish adds visual appeal and an extra layer of flavor.
Storing and Bringing It Back to Life
Fridge Storage
Store the cake in an airtight container in the refrigerator for up to 3 days. The airtight environment keeps the cake from drying out and preserves the freshness of the berries. Before serving, let the cake sit at room temperature for 10 minutes to soften slightly. This will make slicing easier and enhance the flavor. If you’re storing it for a longer period, consider wrapping it in plastic wrap before placing it in the container.
Freezer Friendly
For longer storage, freeze the cake in a freezer‑safe container for up to 2 weeks. When ready to eat, thaw it overnight in the refrigerator. The texture will remain firm, and the flavors will stay vibrant. To avoid freezer burn, wrap the cake tightly in plastic wrap before sealing the container. This method is ideal for meal prepping or parties.
Best Reheating Method
To reheat, place the cake in a preheated oven at 300°F (150°C) for 5 minutes. This gentle warming will melt the butter and chocolate without overcooking the berries. If you prefer a quick fix, microwave the cake on low power for 15–20 seconds, watching carefully to avoid melting the filling. A tiny splash of water before reheating creates steam, keeping the cake moist and preventing it from drying out.