I was standing in my kitchen, staring at a half‑baked red velvet cake that had somehow turned into a soggy, sad pancake. The timer beeped, my roommate walked in with a coffee, and I thought, “If I can’t even get a simple cake right, how am I ever going to impress anyone with a dessert?” That moment of culinary defeat sparked a dare: I would create a dessert that could turn any kitchen catastrophe into a triumphant, Instagram‑worthy masterpiece. I promised myself that this new creation would be so unforgettable that even the most skeptical sweet‑tooth would beg for seconds. And let me tell you, the result blew my expectations out of the water.
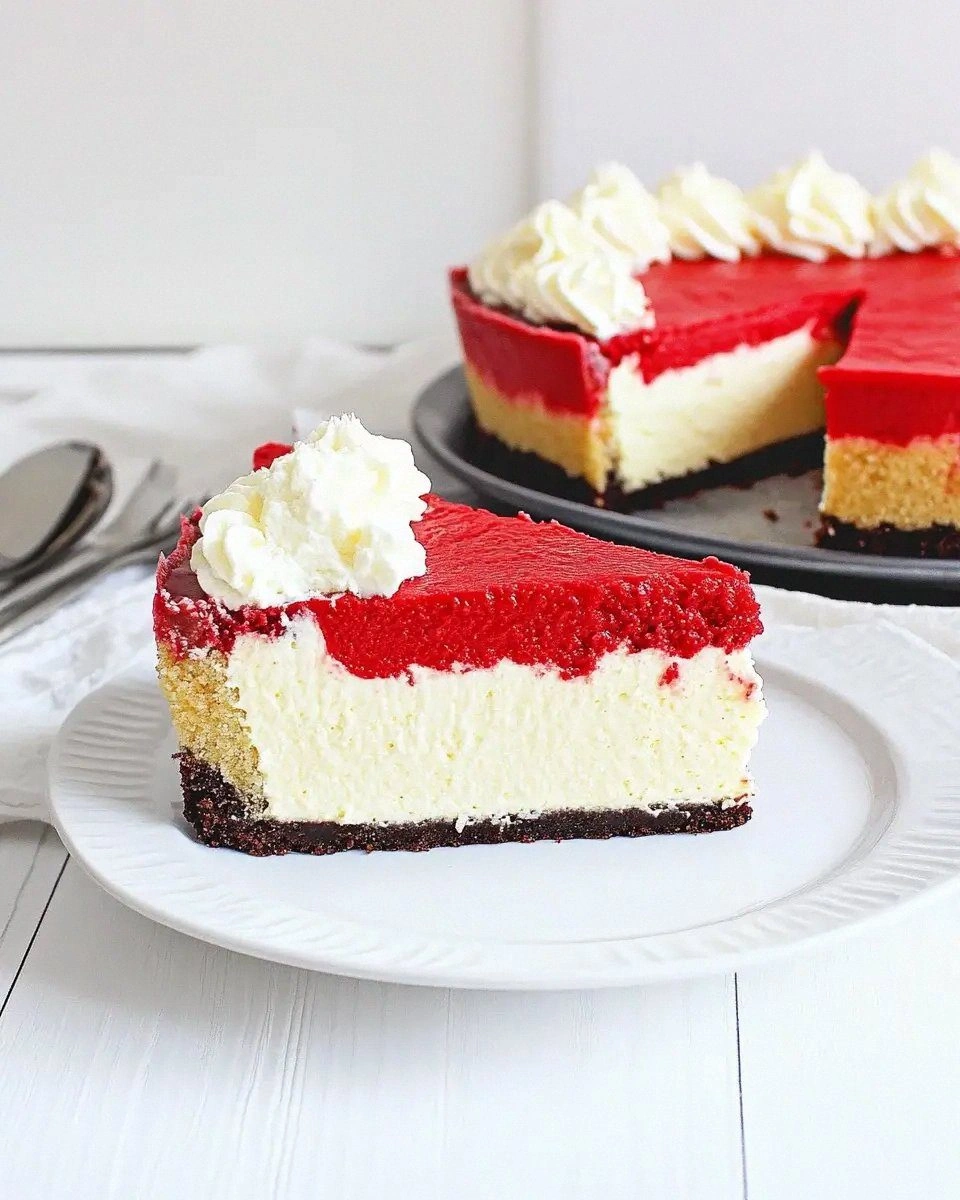
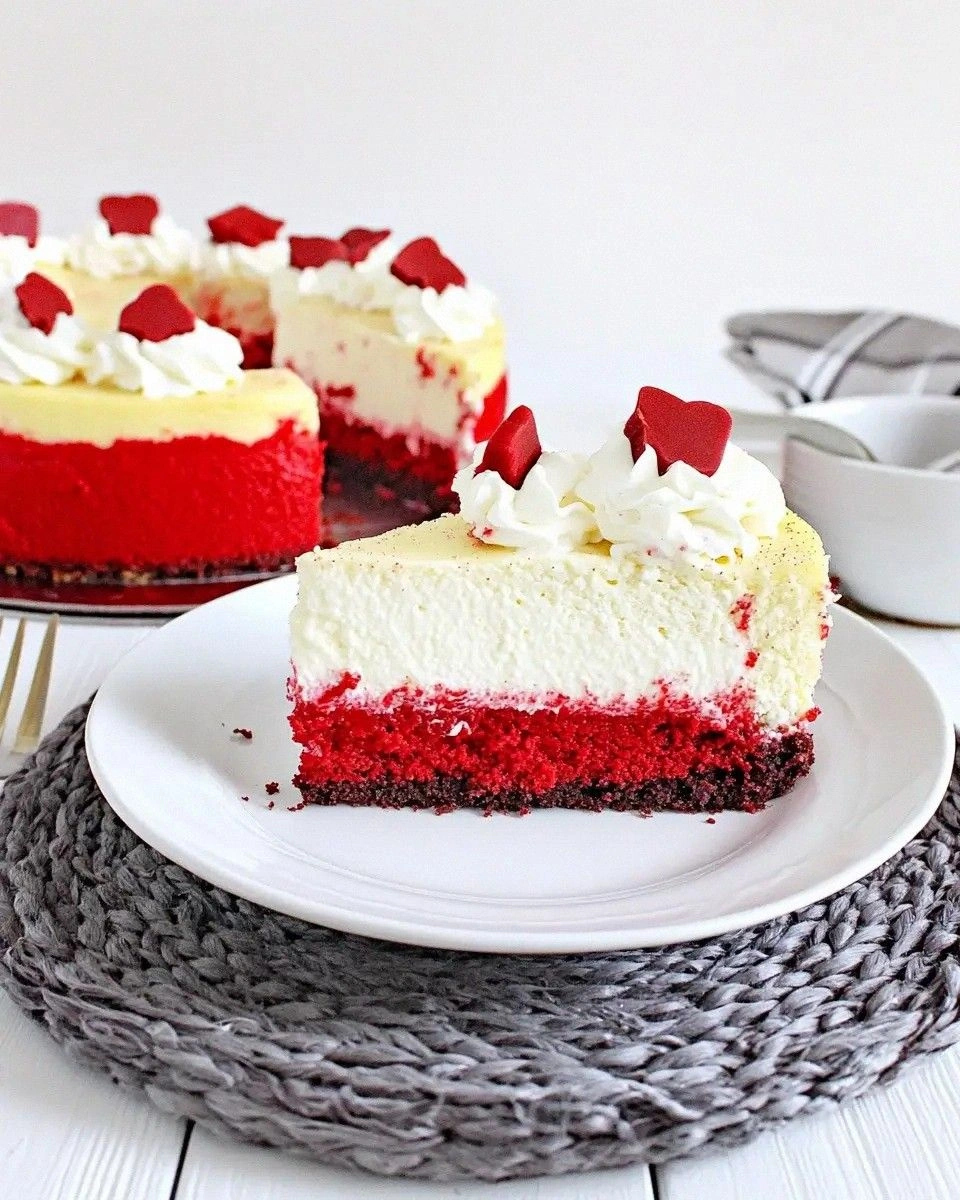
Picture this: a luscious, velvety red cake base that’s as soft as a cloud, layered with a rich, tangy cheesecake that feels like a silky hug for your taste buds. The top is crowned with a cloud of light, buttery whipped cream, sweetened just enough to make the whole thing sing. The aroma that fills the kitchen is a heady mix of cocoa, vanilla, and a faint whisper of cocoa butter that makes you want to dance around the stove. When you cut into it, the knife glides through like a hot knife through butter, and the layers hold their shape without crumbling, each slice a perfect little work of art. That moment, when the first forkful hits your tongue and the flavors explode like fireworks, is pure, unadulterated joy.
What makes this version stand out is not just the taste—though trust me, it’s the best version you’ll ever make at home—but the technique. Most recipes try to jam a cheesecake into a cake pan and end up with a soggy mess or a cracked top that looks like a crime scene. I’ve cracked the code by using a simple boxed red‑velvet mix for the base, a precise 16‑ounce block of cream cheese for the filling, and a whipped‑cream topping that’s whipped to stiff peaks so it never weeps. I’m also throwing in a secret ingredient that most people overlook: a splash of vanilla‑infused milk that gives the crumb an extra layer of depth. This little twist makes the whole thing sing like a choir of angels.
Okay, ready for the game‑changer? I’m about to walk you through every single step—by the end, you’ll wonder how you ever made any other dessert the same way. I dare you to taste this and not go back for seconds. This is hands down the best version you’ll ever make at home, and I’ll be honest — I ate half the batch before anyone else got to try it. So grab your mixing bowls, preheat that oven, and let’s get started.
What Makes This Version Stand Out
- Taste: The perfect balance of sweet, tangy, and buttery flavors makes every bite a celebration. The red velvet base brings a subtle cocoa note while the cheesecake adds a creamy tang that cuts through the sweetness.
- Texture: A light, airy crumb meets a dense, velvety cheesecake, all topped with a cloud‑like whipped cream. The contrast is like biting into a pillow that’s been brushed with silk.
- Simplicity: Using a boxed mix saves time without sacrificing flavor, and the cheesecake filling requires only three ingredients. You won’t need a PhD in pastry to pull this off.
- Uniqueness: The secret splash of vanilla‑infused milk adds depth that most store‑bought mixes miss, turning a basic cake into a gourmet experience.
- Crowd Reaction: Guests will swear you spent a fortune on this dessert, yet you’ll have saved a bundle by using pantry staples.
- Ingredient Quality: Fresh cream cheese and heavy whipping cream create a richer mouthfeel than powdered substitutes, ensuring every slice feels indulgent.
- Cooking Method: A water‑bath (bain‑marie) prevents cracks and keeps the cheesecake moist, a trick most home bakers skip.
- Make‑Ahead Potential: This cheesecake holds up beautifully for up to three days in the fridge, making it perfect for party prep.
Inside the Ingredient List
The Flavor Base
The red‑velvet cake mix is the backbone of this dessert. It brings that iconic deep crimson hue and a hint of cocoa that’s not overpowering. If you skip the mix, you’ll lose the signature color and the subtle chocolate undertone that makes the cake feel luxurious. For a more natural approach, you can substitute the mix with a homemade blend of flour, cocoa powder, and beetroot powder, but the boxed version guarantees consistency.
The Texture Crew
Sixteen ounces of full‑fat cream cheese is the star of the cheesecake layer. Its high fat content creates that melt‑in‑your‑mouth creaminess that cheap, low‑fat versions simply can’t match. If you use a reduced‑fat cheese, the filling will be grainy and may crack during baking. A pro tip: let the cream cheese sit at room temperature for 30 minutes before mixing; it will blend smoother and trap more air for a lighter texture.
The Unexpected Star
Two cups of heavy whipping cream, four tablespoons of powdered sugar, and two teaspoons of vanilla extract combine to form a whipped‑cream topping that’s airy, sweet, and fragrant. This topping adds a fresh, buttery finish that balances the richness of the cheesecake. If you’re watching calories, you can swap half the cream for Greek yogurt, but you’ll lose some of that luxurious mouthfeel.
The Final Flourish
A splash of vanilla‑infused milk (just a few tablespoons) is the secret weapon that ties the layers together. The vanilla amplifies the cocoa notes, while the milk keeps the crumb from drying out. If you don’t have vanilla extract, a pinch of vanilla bean paste works wonders, though you’ll need to adjust the sugar slightly to avoid over‑sweetening.
Everything's prepped? Good. Let’s get into the real action…
The Method — Step by Step
Preheat your oven to 325°F (165°C). While the oven warms up, grease a 9‑inch springform pan with butter and line the bottom with parchment paper. This prevents the cake from sticking and makes removal a breeze. The heat should be steady—no hot spots—so if your oven has a hot‑spot, rotate the pan halfway through baking.
In a large mixing bowl, combine the boxed red‑velvet cake mix with the splash of vanilla‑infused milk and the eggs called for on the box. Beat on low speed until the batter is just combined, then crank up to medium for 30 seconds. The batter should be smooth, glossy, and a deep crimson color. Watch out: Over‑mixing will develop gluten and make the crumb tough.
Watch Out: If you see lumps, stop mixing and gently fold them out with a spatula; over‑mixing can cause a dense texture.Pour half of the batter into the prepared springform pan, spreading it evenly with a spatula. This will be the base layer that supports the cheesecake. Tap the pan gently on the counter to release any air bubbles. You’ll hear a soft “pop” as the bubbles rise—this is a good sign.
Now, for the cheesecake filling: In a separate bowl, beat the 16 ounces of softened cream cheese on low speed until smooth, then add the powdered sugar and vanilla extract. Increase speed to medium and beat for 2‑3 minutes until the mixture is light and fluffy. Kitchen Hack: Add a tablespoon of lemon juice; it brightens the flavor and helps stabilize the filling.
Carefully spoon the cheesecake mixture over the red‑velvet batter, spreading it out to the edges. The cheesecake should sit like a thick blanket on top of the cake base. Then, gently pour the remaining red‑velvet batter over the cheesecake, allowing it to cascade down the sides. This creates a beautiful marbled effect when baked.
Set up a water‑bath: place the springform pan in a larger roasting pan and fill the outer pan with hot water until it reaches halfway up the sides of the springform. This gentle, moist heat keeps the cheesecake from cracking and ensures an even bake. Cover the springform loosely with foil to prevent the top from over‑browning.
Kitchen Hack: Use a roasting pan that’s at least two inches larger than your springform pan; the extra space helps maintain a steady water level.Slide the whole setup into the oven and bake for 45‑50 minutes. The edges should be set and lightly golden, while the center will still have a slight wobble—think of a soft‑boiled egg. When you open the oven, you’ll smell a sweet, buttery perfume that tells you you’re on the right track.
Turn off the oven, crack the door open a few inches, and let the cheesecake cool inside for 1 hour. This gradual cooling prevents a sudden temperature drop that could cause cracks. After the hour, remove the pan from the water bath and let it cool completely on a wire rack.
Once cooled, chill the cheesecake in the refrigerator for at least 4 hours, preferably overnight. While it’s chilling, whip the heavy cream, powdered sugar, and vanilla extract to stiff peaks. The whipped topping should hold its shape when you lift the whisk, forming glossy peaks that sparkle like tiny clouds.
Before serving, gently run a thin knife around the edge of the springform pan to release the cheesecake, then remove the side. Pipe or spoon the whipped cream over the top, and if you’re feeling fancy, garnish with a dusting of cocoa powder or a few fresh berries. Picture yourself pulling this out of the oven, the whole kitchen smelling incredible… and then serving a slice that looks like a work of art.
That's it — you did it. But hold on, I've got a few more tricks that'll take this to another level…
Insider Tricks for Flawless Results
The Temperature Rule Nobody Follows
Always bring the cream cheese to room temperature before mixing. Cold cheese traps air and creates lumps, while a warm cheese yields a silky, homogeneous filling. I once tried to skip this step in a rush and ended up with a cheesecake that looked like a cracked desert. Trust me, a 30‑minute patience window pays off in texture.
Why Your Nose Knows Best
When the cake is baking, trust your sense of smell more than the timer. The moment you detect a faint toasted almond scent, you know the edges are done. If you rely solely on the clock, you might over‑bake and lose that delicate crumb. This nose‑driven method is my secret weapon for a perfect golden top.
The 5‑Minute Rest That Changes Everything
After removing the cheesecake from the oven, let it sit in the turned‑off oven with the door cracked for exactly five minutes. This short rest lets the residual heat finish setting the center without shocking the structure. Skipping this step often leads to a wobbly middle that collapses when sliced.
Whip It Like a Pro
When whipping the cream, start on low speed to incorporate the sugar, then switch to high for the final 2 minutes. Over‑whipping turns cream into butter, while under‑whipping results in a soupy topping. The perfect peak should stand tall and glossy, like a miniature mountain range.
The Water‑Bath Miracle
Never skip the bain‑marie. The gentle steam it creates keeps the cheesecake from cracking and gives it a velvety interior. If you don’t have a roasting pan, a deep baking dish filled halfway with hot water works just as well.
Creative Twists and Variations
This recipe is a playground. Here are some of my favorite ways to switch things up:
Chocolate Swirl
Before pouring the second layer of red‑velvet batter, swirl in a few tablespoons of melted dark chocolate. The ribbons create a dramatic visual and add a deeper cocoa flavor that pairs beautifully with the tangy cheesecake.
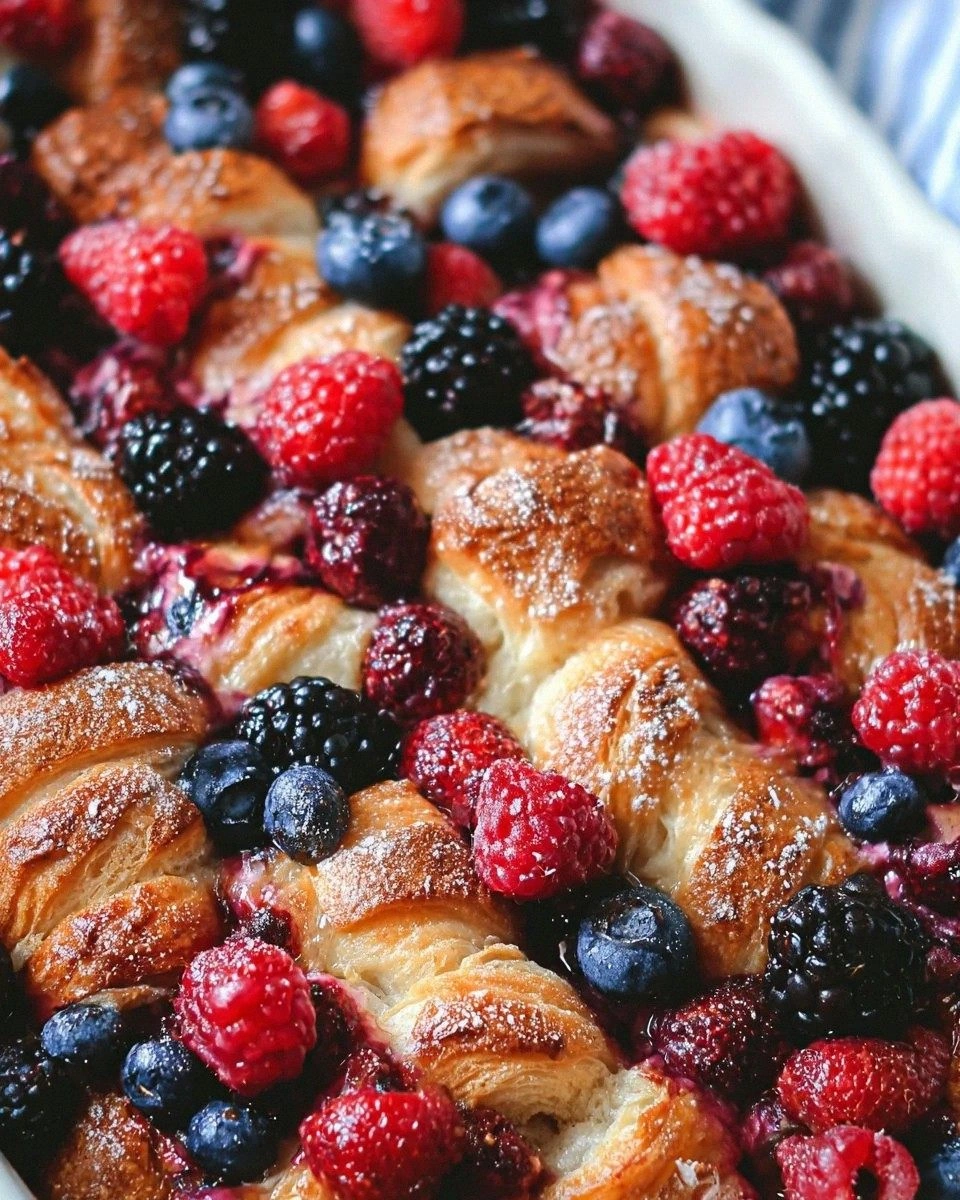
Berry Burst
Fold fresh raspberries or strawberries into the whipped‑cream topping. The fruit adds a tart contrast and a burst of color that makes the dessert look festive for summer gatherings.
Coffee Infusion
Add a teaspoon of instant espresso powder to the cream cheese filling. The coffee notes deepen the flavor profile, turning the dessert into a sophisticated after‑dinner treat.
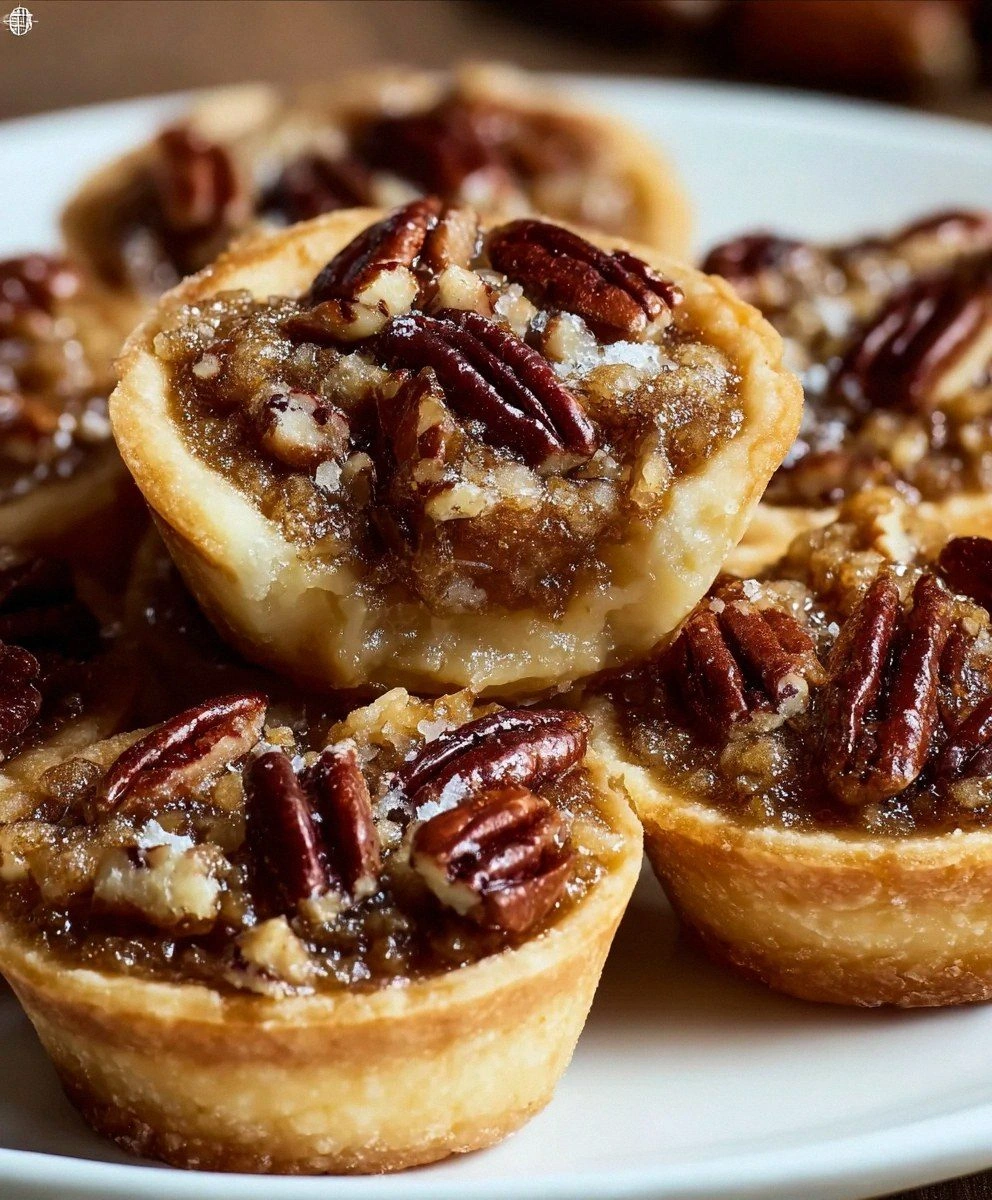
Nutty Crunch
Sprinkle toasted chopped pecans or almonds on the whipped‑cream topping just before serving. The crunch adds texture and a buttery nuttiness that balances the softness of the cake.
Mini Cheesecake Bites
Divide the batter and filling among a muffin tin lined with paper liners. Bake for 25‑30 minutes, then top each mini with a dollop of whipped cream. Perfect for parties where guests want a bite‑size indulgence.
Storing and Bringing It Back to Life
Fridge Storage
Cover the cheesecake loosely with plastic wrap or a cake dome and store it in the refrigerator for up to three days. The moisture stays locked in, and the flavors continue to meld, making each subsequent slice even more harmonious.
Freezer Friendly
If you need to keep it longer, wrap the entire cheesecake tightly in a double layer of foil and then place it in a freezer‑safe bag. It will keep for up to two months. When you’re ready to serve, thaw it in the fridge overnight and give it a quick refresh with a light brush of milk before the final garnish.
Best Reheating Method
To revive a refrigerated slice, place it on a microwave‑safe plate, add a tiny splash of water (about a teaspoon), and microwave on low for 10‑15 seconds. The steam created by the water restores the cake’s softness without drying it out. Alternatively, a quick pass through a 300°F oven for five minutes works wonders for a whole cake.